


Learning how to flush an RO membrane starts with one important distinction: flushing is not the same as chemically cleaning the membrane or sanitizing the entire reverse osmosis system.
During RO membrane flushing, clean water moves across the membrane’s feed side with an open concentrate path to the drain. On systems with a manual flush valve, opening that valve generally increases concentrate flow and reduces the buildup of concentrated salts and loose material. Other systems manage flushing automatically. Exact valve positions, flush times, and restart steps vary by model, so the system manual must take priority over any general procedure.
A typical residential flush may last several minutes, while flushing after membrane replacement or chemical cleaning can take 10–30 minutes or longer. Some systems specify up to an hour. Do not drink the water until the manufacturer’s required flushing and discard procedure is complete.
What owners usually think maintenance involves.
RO maintenance is often treated as a simple filter-change schedule: replace the sediment filter, replace the carbon filter, and change the membrane when water production declines. Those steps matter, but they do not cover everything happening inside the membrane housing.
During normal operation, feed water enters the membrane module. Part of the water passes through the membrane as product water, while the remaining concentrate carries rejected material toward the drain. Because salts and other feed-water constituents become more concentrated along this flow path, deposits can accumulate over time.
Proper RO membrane maintenance may therefore include:
- Replacing sediment and carbon prefilters on schedule
- Checking product-water quality and production rate
- Inspecting the drain flow and flow restrictor
- Running model-specific manual or automatic flush cycles
- Flushing after a new membrane is installed
- Purging the system after approved chemical cleaning
- Sanitizing housings, tubing, tanks, or faucets when directed
- Replacing a membrane that has irreversible fouling or damage
A brief flush can move loose material and concentrated water toward the drain, but it cannot compensate for exhausted prefilters, unsuitable feed pressure, severe scaling, oxidation, biofouling, or physical membrane damage.
How RO membrane flushing actually works
To flush an RO system membrane, the system temporarily sends a higher proportion of water along the membrane surface and out through the concentrate or drain line. In a manual system, this is commonly done with a dedicated flush valve. An automatic system may perform the same general function through electronically controlled valves and programmed cycles.
This sequence describes the process, not universal valve instructions. Tankless systems, tank-based under-sink systems, countertop units, and larger commercial systems can use different plumbing and controls. A system without a user-operated flush control should not be modified or disassembled based only on generic online instructions.

1. Why do I need to flush my RO membrane?
RO membrane flushing serves several related purposes:
- It moves concentrated brine and loose deposits toward the drain.
- It helps clear stagnant or concentrated water after an extended shutdown.
- It purges air, debris, and membrane preservatives after installation.
- It removes residual approved cleaner after a chemical cleaning procedure.
- It helps return the system to stable operation after maintenance.
- It may slow the accumulation of removable deposits when performed as directed.
Flushing is most useful for loose material and residual solution. It is less effective against hardened mineral scale, established biological growth, membrane oxidation, compaction, or physical damage. If product-water TDS remains elevated or production remains low after basic operating conditions have been checked, additional cleaning or replacement may be necessary.
Flushing vs. reverse osmosis membrane cleaning vs. system sanitizing
These three maintenance activities have different purposes:
- Membrane flushing uses water and controlled flow to carry concentrated water, loose deposits, preservatives, or cleaner residue out of the membrane module.
- Reverse osmosis membrane cleaning uses a membrane-compatible cleaning solution to address particular foulants. The chemistry, concentration, pH, temperature, contact time, and rinse procedure must be approved for the membrane and system.
- System sanitizing targets microorganisms or contamination in designated housings, tubing, tanks, faucets, and other components. Depending on the design, the membrane may need to be isolated or removed before sanitizing chemicals are introduced.
Flushing is commonly the final step after cleaning or sanitizing, but a flush by itself is not a substitute for either process.
Before you begin: identify the flush control, tank valve, feed valve, and drain path
Before moving a valve or pressing a flush control, identify these components:
- Feed-water valve: Controls incoming water to the RO system.
- Storage-tank valve: Controls flow into and out of the pressurized tank, if the system has one.
- Flush valve or flush control: May be a manual valve, lever, button, or programmed electronic function.
- Concentrate or drain line: Carries rejected water away from the membrane.
- Flow restrictor: Maintains the flow and pressure balance needed for normal membrane operation.
- RO faucet or product-water outlet: Releases filtered water and may also help depressurize some tank-based systems.
Trace the drain line to confirm that it is not kinked, capped, frozen, clogged, or disconnected. Never start a flush against a closed drain path. If the parts cannot be identified confidently, stop and consult the manual or product support rather than experimenting with the plumbing.
Flush, clean, or replace? A practical decision-support table
|
Condition or symptom |
Start with |
Why
|
|---|---|---|
|
New or replacement membrane has just been installed |
Model-specific startup flush |
Purges air, debris, and membrane preservative before normal use |
|
System has returned from an extended shutdown |
Restart inspection and prescribed flush |
Clears stagnant and concentrated water |
|
Performance changed after routine maintenance |
Check valves, prefilters, tubing, and drain flow before flushing |
Incorrect assembly or restricted flow may be the real cause |
|
Slight production decline with normal feed conditions |
Inspect prefilters, then perform the prescribed flush |
Loose material may be removable, but clogged prefilters can limit membrane flow |
|
Membrane has undergone approved chemical cleaning |
Thorough post-cleaning flush |
Cleaner residue must be fully purged before the system returns to drinking-water service |
|
Persistent low flow or elevated product-water TDS |
Diagnose pressure, tank, prefilters, restrictor, and membrane condition |
Flushing cannot repair severe fouling or membrane damage |
|
Visible damage, known chlorine exposure, or no recovery after appropriate service |
Consider membrane replacement or professional support |
Oxidation and physical damage are not reversed by flushing |
|
Unknown plumbing or no documented flush function |
Consult the manufacturer |
Altering the drain restrictor or valve arrangement may damage the system |
How to flush an RO membrane safely
The following steps provide a safe framework for how to flush a reverse osmosis membrane. They do not replace your model’s operating instructions.
Step 1: Check the system manual and determine why the membrane needs flushing
Identify the maintenance situation before starting:
- Routine manual flush
- Automatic flush cycle
- New-system startup
- Replacement membrane startup
- Restart after an extended shutdown
- Post-cleaning rinse
- Troubleshooting after reduced production or changing TDS
The reason matters because the required duration and discard procedure may differ. A short routine cycle is not necessarily enough after installing a preserved membrane or completing chemical cleaning.
Also verify that the incoming water is suitable for the system. Flushing with unsuitable water will not protect the membrane. If the membrane is chlorine-sensitive, the required carbon pretreatment must be functioning before the water reaches it.
Step 2: Close or isolate the storage tank if required by the system design
Some tank-based systems direct users to close the storage-tank valve so incoming water is sent through the membrane and toward the drain rather than into the tank. Other startup procedures require the tank to be open so it can fill and later be discarded.
Follow the exact sequence in the manual. Do not assume that every tank-based system uses the same valve position.
If the system must be depressurized before a valve is moved or a housing is opened, shut off the feed water and open the RO faucet as instructed. A routine flush performed through a dedicated control may not require depressurization.
Step 3: Confirm that water has an open path to the drain
The concentrate line must be able to discharge freely. Check for:
- Kinked or pinched tubing
- A closed concentrate valve
- A blocked drain connection
- A clogged or incorrectly installed restrictor
- Tubing that was reconnected to the wrong port
- Any valve position that creates a dead-end flow path
Do not apply pressure when the required outlet is closed. If drain flow is absent or unexpectedly weak, stop the system and diagnose the restriction before continuing.
Step 4: Start the manual or automatic membrane flush as directed
For a manual flush valve, the system manual may instruct you to open the valve while the system is running. This creates a less-restricted path to the drain and increases flow across the feed side of the membrane.
For an automatic flush system, use the specified control, startup process, or programmed cycle. Do not repeatedly interrupt power or operate unrelated valves in an attempt to extend the cycle unless the instructions explicitly allow it.
Some systems flush automatically without any user action. In that case, there may be no safe or useful way to force an additional cycle.
Step 5: Run the flush for the model-specific duration
Allow water to flow for the full specified time. Typical documented procedures vary from several minutes to 10–30 minutes or more, and certain systems require approximately one hour after installation or service.
That variation is why there is no universal answer to “How long should you flush a reverse osmosis membrane?” The correct time depends on:
- System design and membrane size
- Whether the flush is routine or post-installation
- Whether chemicals were used
- Flow rate and available pressure
- Amount of stagnant or concentrated water
- Manufacturer restart and discard requirements
Do not shorten a required post-cleaning purge because the water looks clear. Many dissolved residues are not visible.
Step 6: Return valves and controls to their normal operating positions
Once the flush is complete:
- Close the manual flush valve if directed.
- Confirm that the concentrate valve is back in its operating position.
- Restore the storage-tank valve to its normal position.
- Confirm that the feed valve is fully in its required operating position.
- Verify that no tubing was loosened or disconnected.
- Make sure the flow restrictor remains correctly installed.
Leaving the flush valve open is a common cause of low product-water production and excessive drain flow. With an unrestricted drain path, the system may not develop the operating conditions needed to produce water normally.
Step 7: Restart the RO system, check for leaks, and discard water as instructed
Restore normal operation slowly and inspect every connection affected by the maintenance. Look for drips around housings, tubing, valve stems, fittings, and the membrane cap.
Next, follow the prescribed discard procedure. Depending on the system and maintenance event, this could involve running the faucet for a specified period, discarding one or more initial batches, or filling and emptying a storage tank. Do not use the water for drinking until that procedure is complete.
After the system stabilizes, compare product-water flow and TDS with the system’s previous baseline under similar feed-water conditions. Temperature and pressure can affect production, so a single reading is not always enough to diagnose the membrane.
Signs that the flush is complete and when the water can be used again
A flush is complete when:
- The required time or programmed cycle has finished.
- The flush control has returned to normal.
- Drain and product flow are behaving normally.
- Required discard steps are complete.
- No cleaning-solution foam, odor, or other evidence of residue remains.
- Post-cleaning pH or conductivity criteria have been met when the procedure requires them.
- The system has passed a leak check.
If chemical residue is suspected, do not taste the water to test it. Keep the system out of drinking-water service and follow the approved purge or support procedure.
How to flush a newly installed or replacement RO membrane
A new membrane may contain a storage preservative and trapped air. Installation debris may also remain in the housing or tubing. The initial water should therefore be sent to the appropriate drain or discard outlet rather than consumed.
The general startup process is:
- Confirm that the membrane is correctly seated and the housing is sealed.
- Verify all tubing and valve positions.
- Open the feed water as directed, allowing the housing to fill.
- Check immediately for leaks.
- Run the specified startup flush.
- Discard the required initial water or tank fills.
- Return the system to normal production only after the complete procedure.
Flush times after membrane installation commonly range from 10–30 minutes or longer, but some systems specify up to an hour. Use the duration in the applicable manual rather than choosing an average from another system.
How to flush after chemical membrane cleaning without leaving cleaner residue
Chemical cleaning is more complex than routine RO membrane flushing. Use only chemistry and procedures approved for the membrane and system. Household cleaning products are not suitable substitutes.
After an approved cleaning process, technical procedures may require an initial low-pressure rinse with RO permeate or deionized-quality water, followed by further flushing as directed. In larger systems, technicians may monitor outlet pH and conductivity until they approach the incoming flush-water values and confirm that no chemical foaming remains.
Most homeowners do not have a dedicated cleaning loop, calibrated instruments, or a separate permeate supply. If the manufacturer does not provide a residential chemical-cleaning procedure, contact support rather than improvising one.
Do not return chemically cleaned equipment to drinking-water service based on time alone if the instructions specify water-quality criteria. Continue the approved purge until all required conditions have been met.

Manual vs. automatic RO membrane flushing
Manual and automatic flushing serve a similar purpose, but responsibility for controlling the process differs.
How a manual flush valve changes concentrate flow across the membrane
During normal RO operation, a flow restrictor helps maintain the pressure and recovery conditions required by the membrane. Opening a dedicated manual flush valve creates a less-restricted concentrate path, increasing water movement along the membrane surface and toward the drain.
This can carry away loose deposits and highly concentrated water. Once the cycle ends, the valve must return to its normal position. Otherwise, the system may continuously send water to the drain while producing little product water.
How an automatic flush cycle controls the process
An automatic flushing system uses internal controls to manage valve position and cycle duration. Depending on the design, the cycle may occur at startup, shutdown, after a set operating condition, or when the user activates a flush control.
Automatic does not mean maintenance-free. Prefilters still need inspection and replacement, the drain path must remain clear, and the membrane may eventually require cleaning or replacement. Owners should also learn what the unit’s normal flush sounds and drain flow look like so unusual operation is easier to recognize.
Systems without a user-operated flush control
Not every RO system provides a user-operated membrane flush. The absence of a visible valve or button does not mean that a component should be removed to create one.
If the manual provides no flushing procedure:
- Check whether the system flushes automatically.
- Follow the documented startup and filter-replacement sequence.
- Do not open sealed internal valves.
- Do not disconnect the concentrate line while the system is pressurized.
- Contact support if a flush is needed for troubleshooting or post-cleaning service.
Why you should not bypass a flow restrictor unless the manufacturer explicitly instructs you to
Some generic instructions recommend removing or bypassing the drain flow restrictor. That action is not appropriate for every RO design.
The restrictor is part of the system’s operating balance. Removing it incorrectly can cause abnormal drain flow, inadequate product-water production, leaks, failure to return to normal operation, or incorrect membrane pressure. Integrated or tankless systems may use electronically controlled components that should not be modified.
Only bypass or remove a flow restrictor when the applicable manual provides that procedure and explains how to restore the component correctly.
RO membrane maintenance timing and filter-stage checks
RO membrane maintenance timeline
Use maintenance events and actual system performance—not one universal calendar—to decide when inspection or flushing is appropriate:
- At installation or membrane replacement: Verify installation, complete the prescribed startup flush and discard procedure, check for leaks, and record baseline product-water TDS and production.
- During normal operation: Monitor production, product-water TDS, taste, odor, and drain behavior. Run manual flushes only at the interval specified for the model, and allow automatic cycles to finish.
- At each prefilter service: Check sediment loading and carbon-filter condition, confirm tubing and valve positions, and restart the system according to its instructions.
- After an extended shutdown: Inspect the system before pressurizing it, replace overdue filters, and follow the documented flushing, sanitizing, and water-discard procedure.
- When performance changes: Check feed pressure, water temperature, prefilters, tank conditions, valve positions, and drain flow before deciding whether to flush, clean, or replace the membrane.
More frequent flushing is not a substitute for effective pretreatment, timely filter replacement, or diagnosis of an underlying system problem.
How sediment and carbon prefilters affect membrane fouling
The RO membrane depends on its upstream filters. A sediment filter captures particulate matter that could load the membrane surface or restrict water flow. Carbon pretreatment helps protect chlorine-sensitive membranes from unsuitable oxidant exposure when the system is designed for that purpose.
If a sediment filter becomes clogged, membrane production can decline because insufficient pressure or flow reaches the membrane. If the required carbon stage is exhausted or bypassed, flushing cannot reverse resulting oxidation damage.
Before blaming the membrane, check:
- Whether prefilters are overdue for service
- Whether visible sediment loading is present
- Whether the correct filters are installed
- Whether housings and cartridges are seated properly
- Whether the feed water has changed
- Whether pressure declined after a filter replacement
When to inspect post-filters and other downstream stages
A product-water taste or odor issue does not always come from the membrane. Storage tanks, tubing, faucets, remineralization stages, and post-carbon filters are located downstream and may require separate inspection.
If membrane TDS performance appears normal but the final water has an unusual taste or reduced faucet flow, check the downstream stages. Compatible RO post-filters should be selected according to the specific system and replacement instructions.
Why maintenance frequency depends on feed-water quality, system use, and manufacturer guidance
There is no safe universal flushing interval for every RO membrane. Maintenance frequency can change with:
- Sediment and turbidity
- Hardness and scaling potential
- Iron or other foulants
- Feed-water disinfectant conditions
- Daily production volume
- Frequency of startup and shutdown
- Long periods of inactivity
- Prefilter effectiveness
- System pressure and temperature
- Membrane and system design
Use the manufacturer’s schedule as the starting point, then track actual performance. More frequent flushing is not a substitute for appropriate pretreatment or timely filter replacement.
Common RO membrane flushing mistakes and what to avoid
Mistaking a 5–10 minute flush for full membrane maintenance
A short flush may be appropriate for routine maintenance on a model that specifies it. It is not automatically sufficient after membrane installation, chemical cleaning, sanitization, or a long shutdown.
Full maintenance also includes checking prefilters, inspecting the drain flow, verifying valve positions, monitoring product-water quality, and replacing components when flushing cannot restore performance. Repeated short flushes will not dissolve severe scale, restore oxidized membrane material, or fix a damaged flow restrictor.
Leaving the flush valve open after returning the system to service
An open flush valve can cause continuous or excessive drain flow and low product-water output. If the system produces little water immediately after flushing, verify that the valve is fully returned to its operating position.
Flushing against a closed drain path or using unverified pressure settings
Never pressurize a membrane module against a closed concentrate path. Do not copy a pressure value from another system: flush pressure is model-dependent, and residential systems may regulate it internally.
Where a technical cleaning procedure specifies low-pressure flushing, follow that procedure exactly. Do not adjust pumps, regulator settings, or concentrate valves without approved instructions.
Using household cleaners or chemicals not approved for the membrane
Avoid household detergents, bleach, acids, alkaline products, solvents, and improvised mixtures unless the manufacturer expressly approves a particular product, concentration, and method.
Membrane cleaning chemistry depends on the foulant and membrane material. The wrong chemical or pH can damage the membrane, seals, housings, and downstream components.
Exposing a chlorine-sensitive membrane to unsuitable flush water
Many RO membranes require protection from chlorine or other oxidants. Use only the flush-water source specified for the system, and confirm that required carbon pretreatment is functioning.
Specialized post-cleaning procedures may call for RO permeate or deionized-quality water. Typical residential systems may instead use treated incoming feed water according to their manuals. These approaches are not interchangeable without confirmation.
Drinking the water before post-cleaning chemicals are fully purged
Clear-looking water can still contain dissolved cleaner. Complete the entire rinse and discard procedure before drinking or cooking with the water. Where the process specifies pH, conductivity, or absence-of-foam criteria, all of those conditions must be satisfied.
Assuming flushing can reverse severe scaling, oxidation, biofouling, or physical damage
Flushing removes loose material and concentrated solution. It does not repair:
- Hardened or extensive mineral scale
- Established biological fouling
- Chemical oxidation
- Torn or physically damaged membrane material
- Compaction or irreversible performance loss
- Cracked housings or failed seals
If basic troubleshooting and an approved flush do not restore acceptable operation, deeper service or replacement is the appropriate next step.
Troubleshooting when flushing does not restore RO performance
Low water production after RO membrane flushing
Check the simplest causes first:
- Confirm that the manual flush valve is closed.
- Confirm that the storage-tank and feed-water valves are open as required.
- Inspect tubing for kinks.
- Check whether the sediment or carbon filters are restricting flow.
- Confirm that the drain line and flow restrictor are correctly installed.
- Consider whether feed pressure or water temperature has changed.
- Check storage-tank conditions according to the system instructions.
- Allow enough time for a depleted tank to refill.
If these conditions are normal, the membrane may be fouled, damaged, incorrectly installed, or near the end of its usable service life.
Product-water TDS remains elevated after flushing
TDS may be temporarily unstable after startup or service, so allow the system to complete its required flush and return to normal operation before testing.
For a meaningful comparison:
- Use a functioning, calibrated meter.
- Compare feed-water and product-water readings.
- Test under similar operating conditions.
- Avoid relying on water that has been sitting in tubing or the faucet.
- Confirm that the membrane is fully seated and seals are intact.
- Check for internal bypass or incorrect tubing connections.
Persistently elevated product-water TDS can indicate membrane damage, improper installation, inadequate pressure, or irreversible fouling. Flushing alone may not resolve it.
Unusual drain flow, continuous flushing, or a system that will not return to normal operation
Excessive drain flow after a manual flush commonly points to an open flush valve or a missing, displaced, or damaged flow restrictor. On automatic systems, a control valve or sensor issue may prevent the cycle from ending.
Do not block the drain line to force the system back into production. Shut down the unit as instructed and seek model-specific support.
When deeper membrane cleaning may be appropriate
Approved chemical cleaning may be considered when testing indicates membrane fouling and the system or membrane manufacturer provides a suitable procedure. Cleaning must match the foulant and membrane material.
For many residential systems, replacement may be safer and more practical than creating a DIY cleaning loop. Contact support when the procedure requires membrane removal, chemical circulation, pressure adjustments, or measurements you cannot perform reliably.
When the membrane or another filter stage may need replacement
Replacement may be appropriate when:
- Product-water quality remains outside the system’s expected performance after troubleshooting
- Production remains low under suitable operating conditions
- The membrane has known chemical or physical damage
- Approved cleaning and flushing do not produce meaningful recovery
- Seals, housings, prefilters, or post-filters are defective or exhausted
Use the system model and filter identification information to select compatible parts. Frizzlife owners can review the available replacement filters, but compatibility should always be confirmed before ordering.
Building a safer long-term RO maintenance routine
Record flushes, filter changes, water-quality readings, and performance changes
Keep a basic maintenance log with:
- Flush and filter-change dates
- Reason for each flush
- Feed-water and product-water TDS
- Approximate production or tank-fill behavior
- Unusual drain flow, noise, taste, or odor
- Changes in feed-water conditions
- Parts replaced and leak checks completed
Trends are more useful than isolated observations. A gradual rise in product-water TDS, for example, can be more informative than one reading taken immediately after maintenance.
Follow model-specific instructions instead of relying on one universal flush schedule
The correct RO membrane flushing procedure depends on the system architecture. A tankless unit with an automatic cycle should not be maintained as though it were a conventional tank-based system with a manual valve.
Keep the current manual accessible and use it for startup, shutdown, filter replacement, flushing, sanitizing, and troubleshooting. If the system has been modified, confirm that the instructions still apply to its current configuration.
When to contact support rather than disassemble or chemically clean the membrane
Contact support when:
- You cannot identify the flush valve or drain restrictor.
- The manual does not provide a chemical-cleaning procedure.
- Water continues to drain after the flush should have ended.
- A housing leaks after reassembly.
- TDS rises suddenly and remains elevated.
- The system requires internal electrical or pump adjustments.
- You suspect chemical exposure or biological contamination.
- Flushing does not restore normal operation.
Depressurizing, disassembling, or chemically treating an unfamiliar RO system can create leaks, damage components, or leave residue in the drinking-water path.
Choosing a replacement reverse osmosis system when repeated maintenance no longer solves the issue
If repeated repairs, flushing, and component replacement do not restore reliable operation, evaluate whether the existing system still fits the household’s water conditions, usage, and maintenance preferences.
Consider the system layout, availability of compatible filters, documented maintenance process, installation requirements, and whether flushing is manual or automatic. Frizzlife’s collection of reverse osmosis filter systems provides options to review when replacing an aging or unsuitable unit.
Maintain Your RO System or Explore an Upgrade
When routine flushing no longer restores your RO system's performance, the next step may be replacing a compatible filter or considering a new system. Explore these Frizzlife options based on your current setup and maintenance needs.
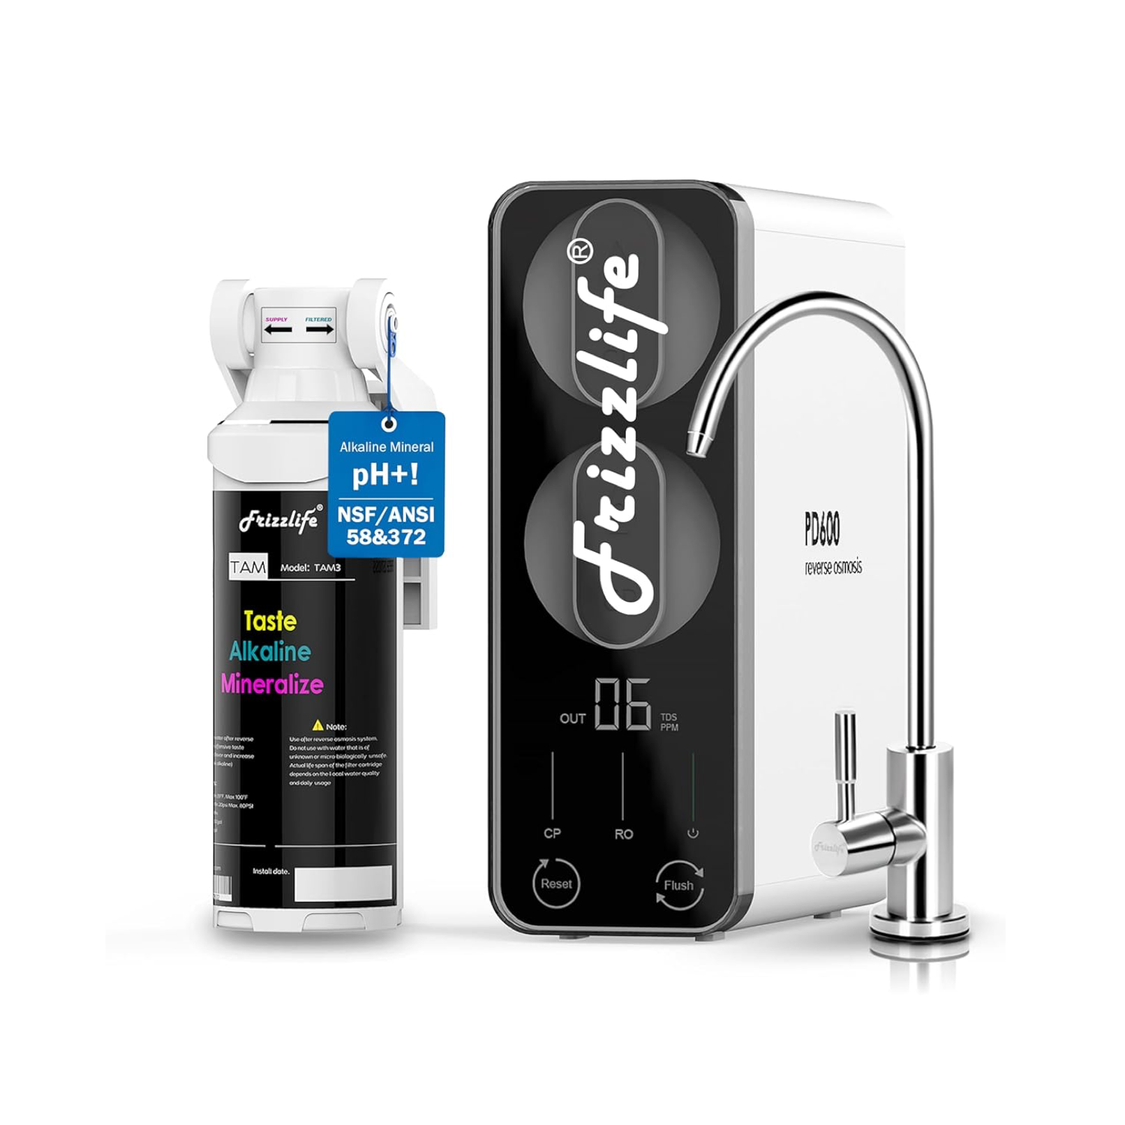 TANKLESS RO UPGRADE
Frizzlife PD600-TAM3
A tankless under-sink reverse osmosis system featuring alkaline remineralization and real-time TDS monitoring. An option for upgrading an aging RO setup.
Explore PD600-TAM3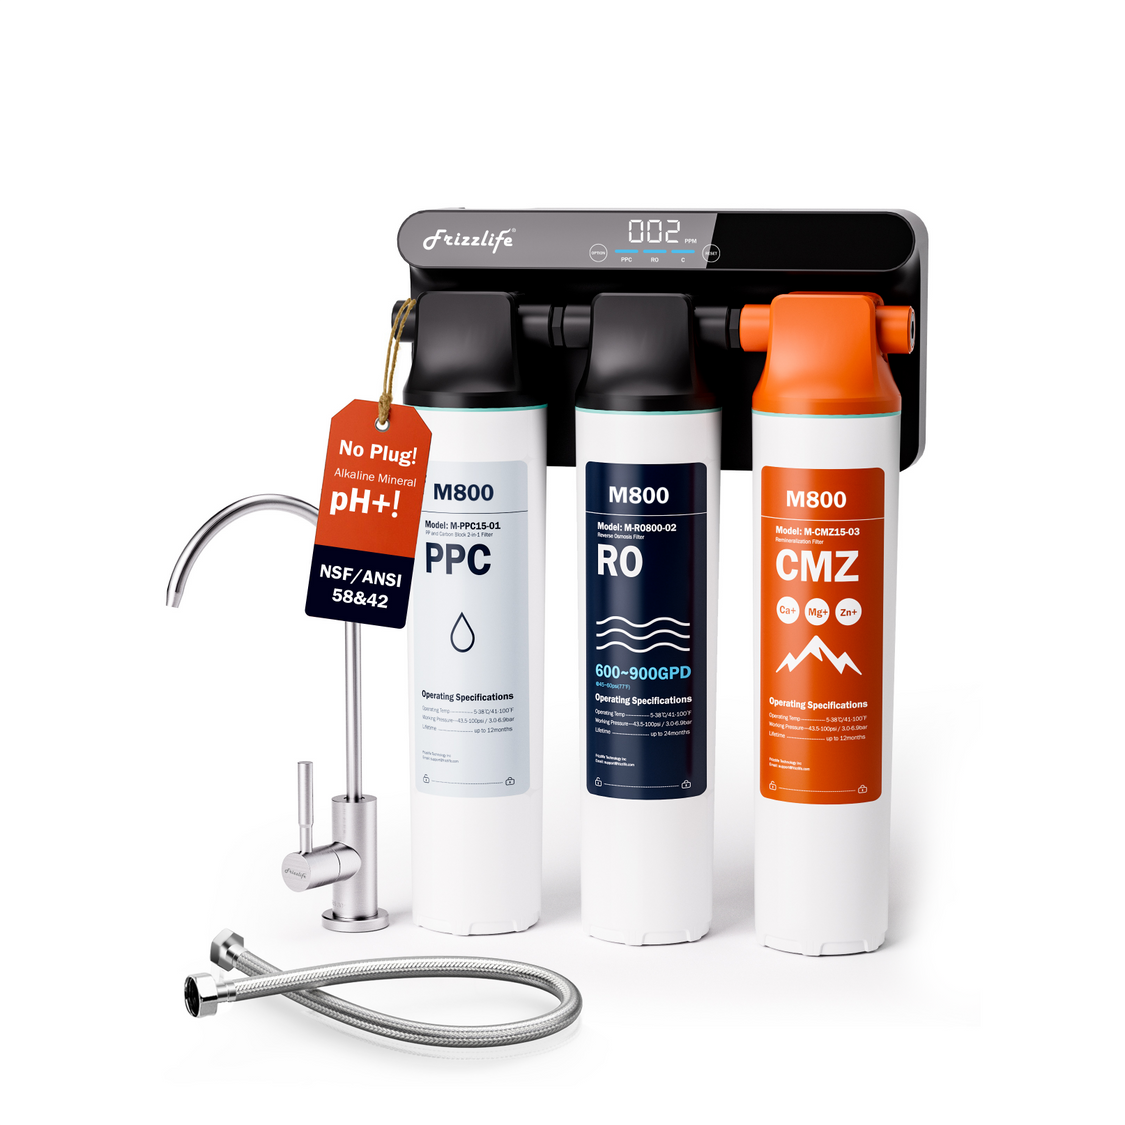 NON-ELECTRIC RO OPTION
Frizzlife M800
A non-electric, tankless under-sink RO system designed to operate using incoming water pressure. Worth considering when comparing replacement systems.
Explore M800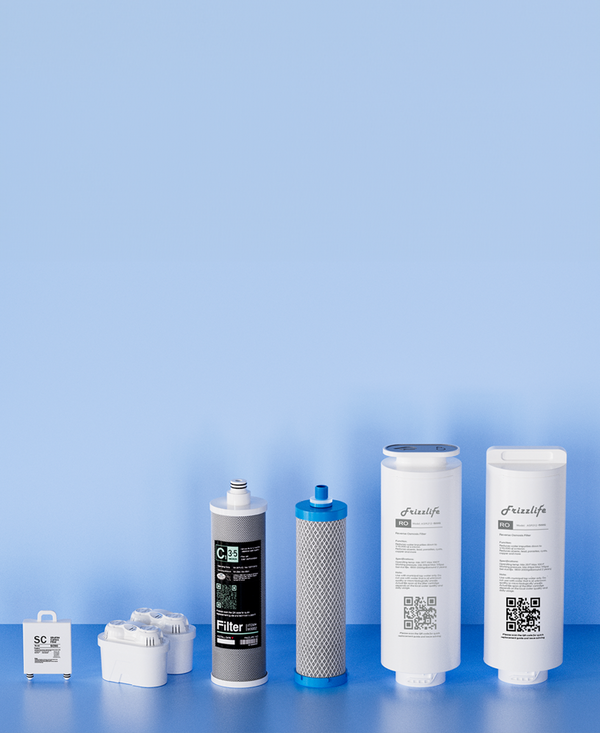 ROUTINE RO MAINTENANCE
Frizzlife Replacement Filters
Already own a Frizzlife system? Find replacement cartridges for your model to support routine maintenance. Always verify filter compatibility before ordering.
Find Replacement FiltersImportant: Flushing, filter replacement, and complete system replacement address different maintenance needs. Always follow your model-specific manual and confirm compatible replacement parts.
The essential rule is simple: flush through the system’s intended control, keep the concentrate path open, use only approved water and chemicals, and follow the specified time and discard procedure. When flushing does not correct the problem, diagnose pressure, prefilters, tank conditions, valve positions, drain flow, and membrane condition before deciding whether deeper cleaning or replacement is warranted.