


You can connect reverse osmosis to a fridge by teeing into the RO system’s treated product-water line and running dedicated tubing to the refrigerator inlet. The same connection can usually supply both the water dispenser and ice maker because many refrigerators use one inlet valve for both functions.
The plumbing is straightforward, but compatibility matters. Before you connect an RO system to a refrigerator, confirm the refrigerator’s minimum water-pressure requirement, the RO system’s output configuration, the tubing and inlet sizes, the location of the final post-filter, and the refrigerator manufacturer’s instructions for its internal filter.
Tank-based RO systems are often the simplest to connect because the storage tank provides a reserve of pressurized water. Tankless RO systems may also work, but variable output, long tubing runs, or restrictive refrigerator valves can make an auxiliary tank or delivery-pressure support necessary.
How to Connect Reverse Osmosis to a Fridge or Ice Maker
A typical reverse osmosis refrigerator connection follows this flow:
RO membrane → storage tank → final post-filter → tee fitting → RO faucet and refrigerator line
For a tankless system, use the manufacturer-identified purified-water outlet after the final treatment stage. Do not assume tubing color alone identifies the correct line.
The new refrigerator branch should have its own accessible shutoff valve. This lets you service or move the refrigerator without disabling the drinking-water faucet.
Can a Reverse Osmosis System Be Connected to a Refrigerator and Ice Maker?
Yes, a reverse osmosis system can be connected to a refrigerator water dispenser, ice maker, or both, provided that:
-
The refrigerator permits an external RO water supply.
-
The RO system delivers enough pressure and flow for the refrigerator inlet valve.
-
You connect to the treated product-water line, not the raw feed or drain line.
-
The tubing and fittings match the RO outlet and refrigerator inlet.
-
The refrigerator’s internal filter is handled according to its manual.
-
The tubing route does not create excessive restriction, kinking, or leak risk.
A conventional tank-based RO system is usually easier to pair with a refrigerator because water stored in the tank is available when the dispenser or ice maker calls for it. Performance still depends on the tank’s refill state, air charge, filter condition, and the distance to the refrigerator.
A tankless RO system can also feed a refrigerator, but the system must start and produce water whenever the appliance opens its inlet valve. Some refrigerators may not work reliably with low or changing delivery pressure. A compatible small pressure tank or product-water delivery pump may help in certain installations, but these are not universal requirements.
A non-RO under-sink filter can often be connected similarly by branching from its filtered-water outlet. Because filter designs and pressure limits differ, follow the filter manufacturer’s approved plumbing arrangement rather than applying RO instructions automatically.
If you are still selecting a filtration setup, compare the plumbing connections and operating requirements of available reverse osmosis filter systems before planning the refrigerator line.
What Should I Check Before Connecting an RO System to an Ice Maker?
Review the following points before cutting any tubing:
-
RO system type: Determine whether the system is tank-based or tankless and whether it supports an additional product-water outlet.
-
Refrigerator pressure requirement: Find the required supply-pressure range in the appliance manual. Some refrigerator manuals specify 40–60 psi for an RO supply, but requirements are model-specific.
-
Available product-water line: Identify the line carrying fully treated water after the storage tank and final post-filter. On a tankless unit, locate the designated pure-water outlet.
-
Tubing route and distance: A refrigerator across the kitchen or on another floor creates more pressure loss and more opportunities for damaged tubing than a short cabinet-to-cabinet run.
-
Refrigerator inlet size: A 1/4-inch connection is common, but confirm the actual inlet valve and required hardware.
-
RO tubing size: Do not assume the system uses 1/4-inch tubing throughout. Some systems use different sizes at the tank, post-filter, or faucet.
-
Internal refrigerator filter: Check whether the filter should remain installed, be removed, or be replaced with an approved bypass plug.
-
Shutoff access: Plan an accessible valve for the refrigerator branch.
-
Power requirements: Pump-driven tankless systems may need power during operation and must generally be unplugged before their tubing is modified.
-
Service access: Leave enough tubing behind the refrigerator to pull it forward without stressing the connection.
Also inspect the existing refrigerator line. If it is old, damaged, pinched, or made from a material the filtration-system manufacturer does not recommend for treated water, replace it with suitable food-contact-rated tubing.
System and Fridge Compatibility
Use this table to identify likely constraints before installing the refrigerator water line.
|
Installation scenario |
Expected behavior |
Main constraints to check |
Possible additional hardware
|
|---|---|---|---|
|
Tank-based RO with a short run |
Usually the simplest arrangement because the tank provides stored product water |
Tank pressure, refrigerator minimum pressure, tee location, filter condition |
Tee, dedicated shutoff, tubing, refrigerator adapter |
|
Tank-based RO with a long run |
May work, but flow can fall as distance, elevation, and restrictions increase |
Tubing route, kinks, tank refill state, simultaneous faucet use |
Protective sleeve, rerouting, compatible delivery support |
|
Tankless RO with a short run |
Can work if the unit responds properly to refrigerator demand |
Startup behavior, output pressure, refrigerator inlet requirements, power access |
Compatible small pressure tank or delivery support if required |
|
Tankless RO with a long run |
More likely to show slow dispensing or incomplete ice fills |
Variable pressure, friction loss, elevation, appliance valve sensitivity |
Rerouting, compatible auxiliary tank, or product-water delivery pump |
|
Refrigerator with internal filter |
May add resistance even though the incoming water is already filtered |
Manufacturer instructions, bypass-plug availability, minimum pressure with filter |
Approved bypass plug or specified internal filter |
|
Refrigerator without internal filter |
Avoids the pressure drop associated with a second filter |
Inlet size, appliance pressure requirement, line condition |
Standard inlet adapter or union |
|
Ice maker only |
Intermittent demand, but consistent fill pressure is still important |
Ice maker valve requirements, cube size, fill timing |
Standard connection kit; pressure support only if testing shows a need |
|
Dispenser and ice maker |
Greater combined demand, especially during dispensing or ice production |
Storage capacity, refill rate, simultaneous sink use |
Larger compatible storage reserve or delivery support where approved |
Do not use a larger tubing size as an automatic pressure fix. Tubing diameter can affect friction loss, but the actual result depends on the RO design, fittings, run length, elevation, and refrigerator inlet. Changing line size cannot correct a depleted tank, clogged filter, weak product-water pressure, or restrictive appliance valve.
Explore Frizzlife RO Systems and Replacement Filters
Planning a refrigerator or ice-maker connection? Review the system specifications, installation requirements, and compatible replacement filters before choosing your setup.
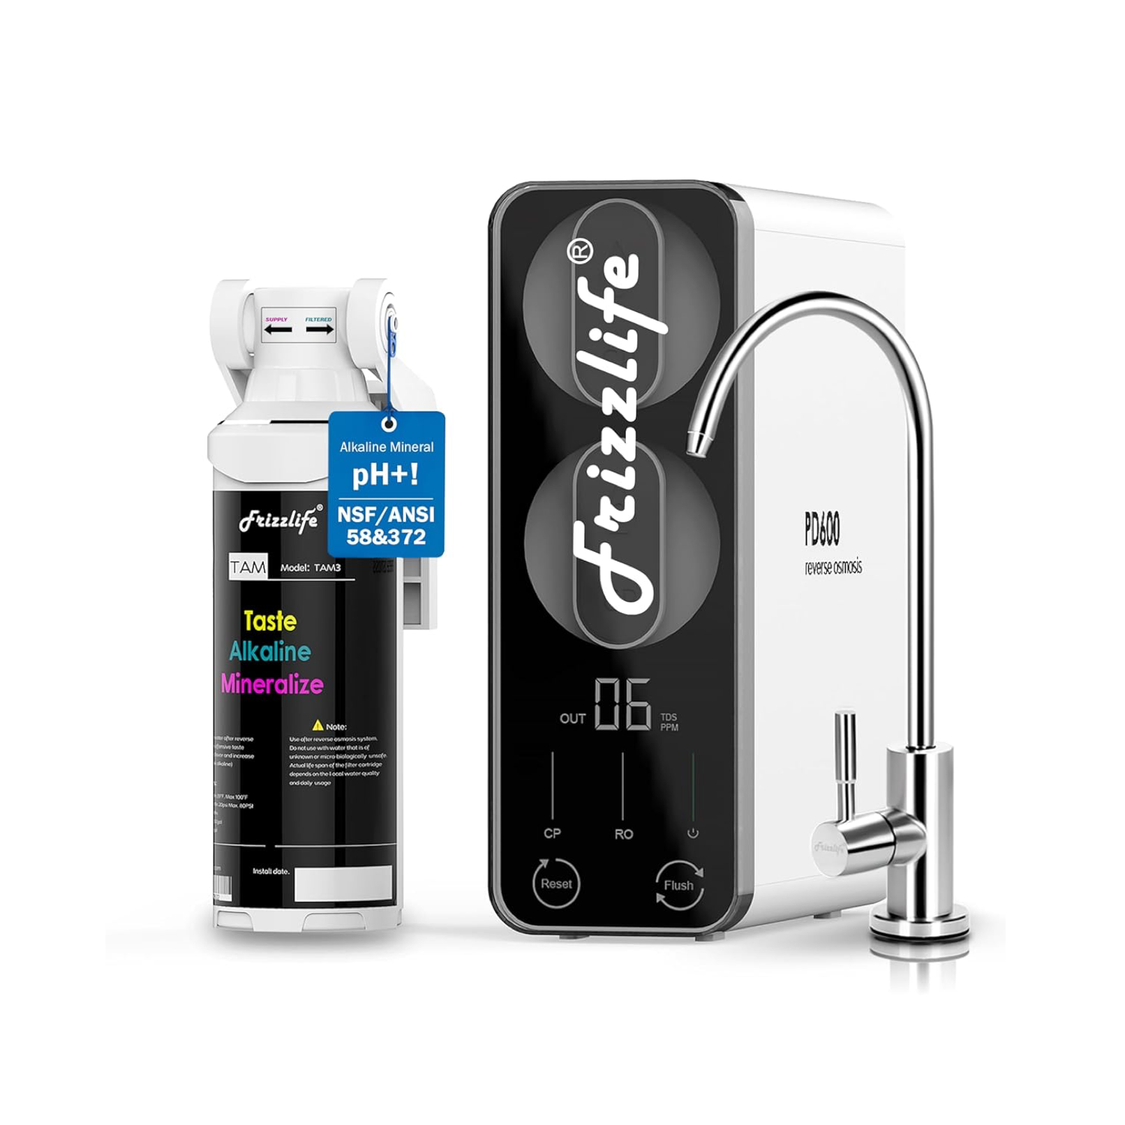
Frizzlife PD600-TAM3
Review product specifications, installation details, and connection requirements when planning your RO water setup.
View PD600-TAM3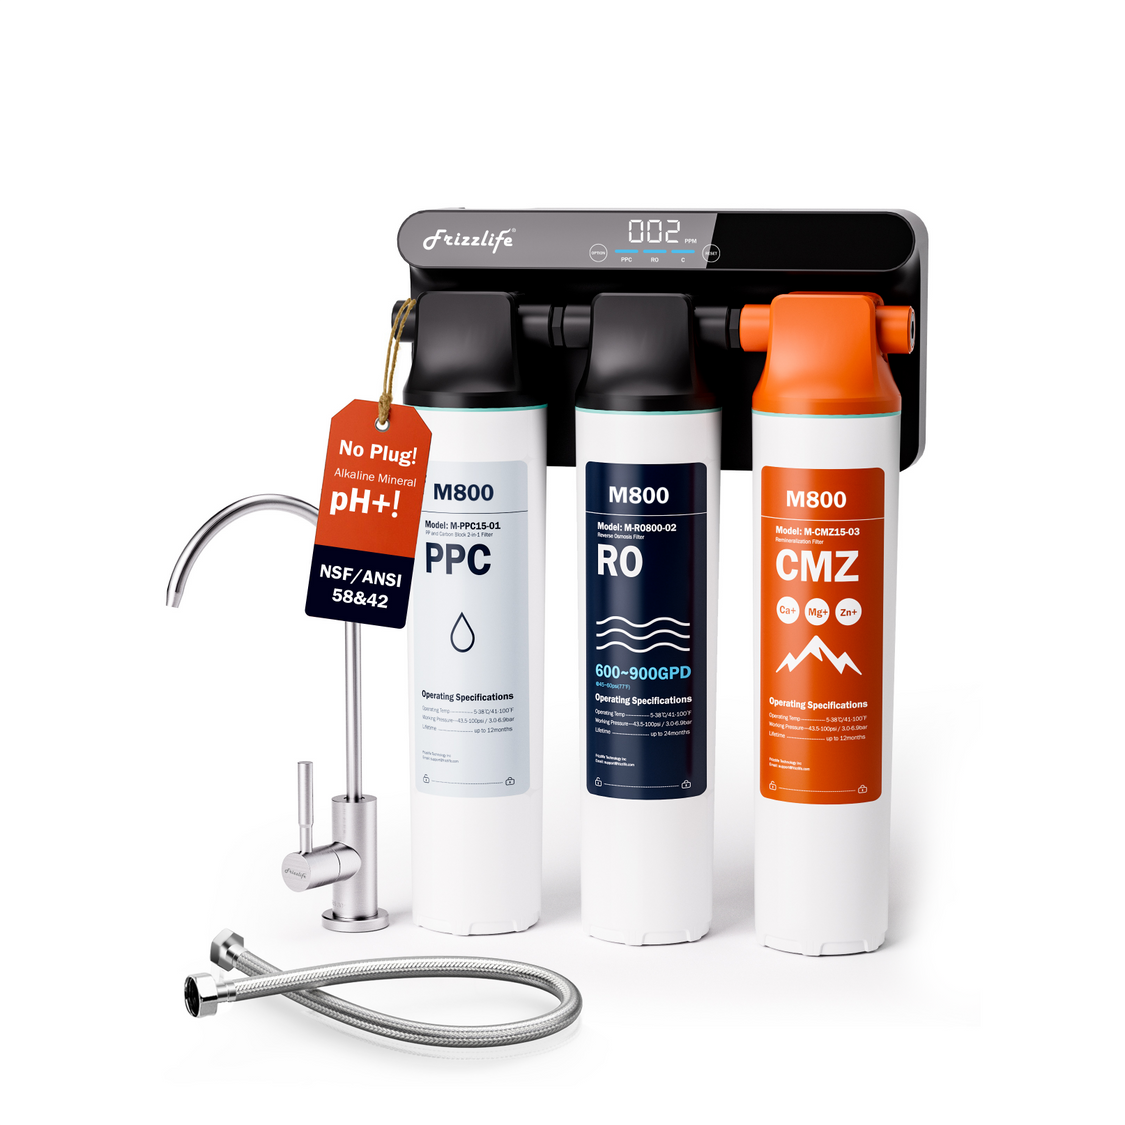
Frizzlife M800
Check the product details and installation requirements before adding a refrigerator or ice-maker branch to your filtered-water setup.
View M800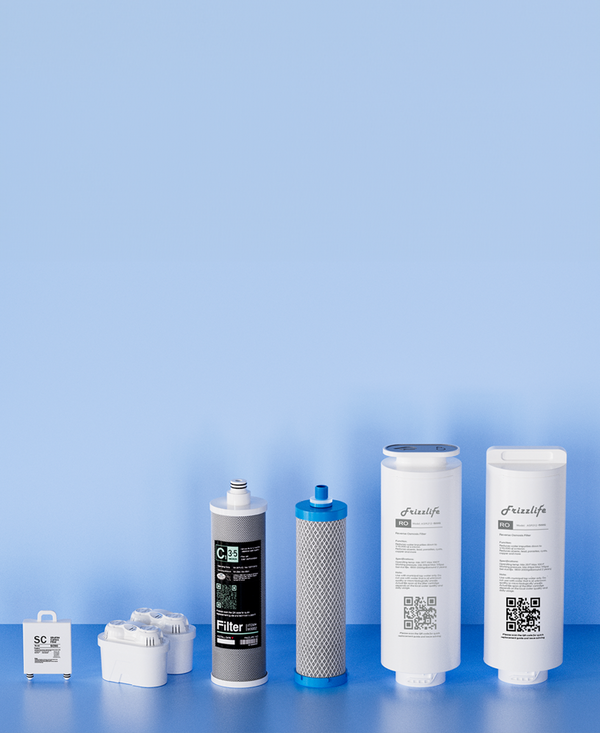
Replacement Filters
Find replacement filters for your Frizzlife system and confirm model compatibility before ordering.
Find Replacement FiltersWhere Do I Connect My Fridge to the RO System—Before or After the Tank and Post-Filter?
Connect the refrigerator to the fully treated product-water line downstream of the storage tank and final post-filter. This supplies the refrigerator with the same finished water delivered to the RO faucet.
Do not tee into:
-
The cold-water feed entering the RO system
-
Tubing between pretreatment filters and the RO membrane
-
The membrane’s reject or drain line
-
An unidentified tube based only on color
-
A line upstream of the tank when the system’s approved layout calls for distribution after the tank and post-filter
Tapping the wrong line can send untreated water or concentrated reject water to the refrigerator. Connecting upstream of the intended distribution point can also result in very low flow or abnormal system cycling.
Consult the RO plumbing diagram before cutting. If the tank outlet flows through a final polishing filter before reaching the faucet, place the tee after that filter. On a tankless unit, use the designated pure-water output and follow its instructions for adding a second outlet.
Step-by-Step Installation Process
The following process covers a common tank-based under-sink RO system. Exact valve locations, tubing sizes, and startup procedures vary, so keep both the RO and refrigerator manuals available.
1. Turn Off the Water and Depressurize the RO System
Close the cold-water feed valve supplying the RO system. Close the storage-tank valve, if applicable, and open the RO faucet to relieve pressure.
For a powered or tankless system:
-
Turn off the water supply.
-
Open the filtered-water faucet to relieve pressure.
-
Switch off and unplug the unit if directed by its manual.
-
Wait until water stops flowing before disconnecting tubing.
Place a towel and shallow container under the work area. A small amount of water may remain in the line.
2. Identify and Cut the Treated Product-Water Line
Trace the system plumbing from the tank and final post-filter to the drinking-water faucet. Confirm the correct connection point using the system diagram.
Choose a straight, accessible section with enough room for the tee and future servicing. Cut the tubing squarely with a tubing cutter. Do not use scissors or a dull utility knife; an angled or crushed cut may not seal correctly in a quick-connect fitting.
Check both cut ends for:
-
Burrs
-
Scratches
-
Oval or crushed tubing
-
Mineral buildup
-
Existing stress marks
Trim the tubing again if the end is damaged.
3. Install the Tee Fitting and Refrigerator Shutoff Valve

Match the tee to the existing product-water tubing. Push each tube fully into a quick-connect fitting according to the fitting instructions, then pull back gently to verify that the collet has gripped it. Install locking clips if they are supplied or required.
Attach the new refrigerator branch to the third side of the tee. Install a dedicated inline shutoff valve on this branch in an accessible under-sink location.
For threaded fittings, use only the thread sealant specified for the connection. Do not apply thread tape to quick-connect ports or compression sealing surfaces unless the fitting manufacturer specifically calls for it.
Labeling the valve “refrigerator” can make future appliance service easier.
4. Route and Secure the Refrigerator Water Line
Plan the complete path before drilling. Common routes include:
-
Through the sides or backs of adjacent lower cabinets
-
Along the concealed cabinet toe-kick area
-
Behind a removable baseboard
-
Through an interior wall cavity where permitted
-
Down through the floor and across an accessible basement or crawlspace
-
Up behind the refrigerator from below
Drill only after checking for electrical wiring, plumbing, gas lines, structural components, and cabinet hardware. Use protective bushings or sleeves where tubing passes through wood, sheet metal, or masonry.
Secure the tubing with clips, but do not flatten it. Avoid:
-
Hot-water pipes, ovens, dishwashers, and heating equipment
-
Sharp cabinet edges
-
Tight bends and kinks
-
Fasteners that can puncture the line
-
Locations where drawers or doors can pinch it
-
Unsupported tubing that can vibrate or rub
-
Areas where the line may freeze
-
Crushing the tubing when the refrigerator is pushed back
Leave service slack behind the refrigerator. The appliance should be able to move forward far enough for cleaning or repair without pulling on the inlet fitting.
5. Connect the Tubing to the Refrigerator Inlet Valve
Locate the refrigerator water inlet, usually near the lower rear of the appliance. Verify the connection type in the refrigerator manual.
Many refrigerator valves use a 1/4-inch compression connection. When plastic tubing is used with a compression fitting, the connection may require a nut, ferrule or sleeve, and an internal tube insert. Use the hardware specified for plastic tubing and the appliance valve.
If the refrigerator has a factory tube rather than a threaded inlet, use a correctly sized union or approved adapter. Avoid assembling several improvised adapters when one matched fitting can make a cleaner connection.
Do not overtighten compression hardware. Excessive force can deform plastic tubing, damage threads, or crack a fitting.
6. Restore Water, Check for Leaks, and Flush the New Line
Keep the refrigerator branch valve closed initially. Restore the RO feed water, reopen the tank valve, and restore power if applicable. Inspect the modified product line and tee.
Next:
-
Open the refrigerator shutoff valve slowly.
-
Inspect the tee, inline valve, unions, and refrigerator inlet.
-
Dry each connection with a paper towel and check again for moisture.
-
Operate the dispenser, if present, to purge air.
-
Allow the RO tank to refill according to the system instructions.
-
Recheck every fitting while the system is pressurized.
-
Check again after the refrigerator has been moved into place.
Flush the new line according to the RO and refrigerator instructions. Air and fine particles from new tubing or filters may initially cause cloudy-looking water or sputtering. Discard the first batches of ice as directed by the appliance manual.
Ice-Maker-Only Connections vs. Supplying the Entire Refrigerator
Many refrigerators have one external water inlet that supplies both the dispenser and ice maker. In that arrangement, you do not install separate RO lines for each function—the appliance divides the water internally.
An ice-maker-only refrigerator has intermittent demand. Its inlet valve opens briefly during a fill cycle, so stable pressure is important even if total daily water use is modest. Insufficient flow can cause small, hollow, or irregular cubes.
A refrigerator with both a dispenser and ice maker creates greater peak demand. Dispensing a glass of water while the ice maker is filling can expose a marginal RO connection, especially when:
-
The storage tank is nearly depleted.
-
The sink faucet is open at the same time.
-
The filters are nearing replacement.
-
The tubing run is long or kinked.
-
The internal refrigerator filter is restrictive.
-
A tankless system cannot respond consistently to the appliance valve.
Verify whether the appliance uses one inlet or multiple plumbing connections before buying parts.
How Do I Run the RO Water Line From Under the Sink to the Fridge?
For a refrigerator beside the sink cabinet, the simplest route is usually through the adjoining cabinet walls. Place holes near the back where the tubing will not interfere with drawers, waste bins, or stored items.
If the refrigerator is across the kitchen, choose the shortest practical route through a concealed toe-kick area, an approved wall cavity, or an accessible basement or crawlspace. Protect every penetration, minimize concealed joints, secure the tubing, avoid freezing and heat exposure, and leave enough service slack to move the refrigerator. Photograph concealed tubing before closing any wall or cabinet opening.
After routing the line, test performance with the RO tank full. If refrigerator flow is weak, inspect for kinks and restrictions and compare the delivered pressure with the appliance manual before changing tubing size or adding pressure-support hardware.
Should I Bypass or Remove My Refrigerator’s Internal Water Filter When Using RO Water?
Follow the refrigerator manual. Some models instruct owners to install a manufacturer-approved bypass plug when the appliance is supplied by an external RO system. Other models require the internal filter to remain installed, allow operation without it, or use the filter body as part of the sealing mechanism.
A second filter can add resistance and reduce dispenser flow. That pressure loss may matter when the refrigerator is already being supplied by an RO storage tank or a long product-water line. However, removing a filter without an approved bypass can stop water flow or cause leakage.
Use this order of decision-making:
-
Check the refrigerator’s instructions for external RO supplies.
-
Determine whether an approved bypass plug is available.
-
Confirm the minimum pressure with and without the internal filter.
-
Do not remove a required cartridge or substitute an improvised plug.
-
Recheck for leaks and proper dispenser operation after any change.
If the manual requires an internal cartridge, use the correct model-compatible replacement rather than assuming external filtration eliminates it. Review available refrigerator water filters only after matching the filter to the exact refrigerator model.
Parts and Tools Needed to Connect an Under-Sink Filter to a Fridge
Exact components depend on the product-water tubing and refrigerator inlet. Confirm every size before ordering.
What Parts Are Needed to Run an RO Line to a Refrigerator?
A standard installation may require:
-
A correctly sized tee for the RO product-water line
-
A dedicated inline shutoff valve
-
Food-contact-rated water tubing
-
A refrigerator inlet adapter or union
-
Compression nut, ferrule, and tube insert where required
-
Quick-connect locking clips where specified
-
Tubing clips or clamps
-
Protective sleeves or grommets for cabinet and wall penetrations
-
An approved refrigerator filter bypass plug, if required
-
A leak tray or water alarm as an optional precaution
Avoid saddle valves for the new filtered-water branch unless the applicable manufacturer and local plumbing rules expressly permit them. A full-port inline valve provides a clearer, more serviceable shutoff.
Tubing Size and Connection Hardware
A 1/4-inch outside-diameter refrigerator line and 1/4-inch inlet connection are common in North American kitchens, but they are not universal. Measure or verify:
-
The RO product-line outside diameter
-
The tee port size
-
The inline valve size
-
The refrigerator inlet type
-
Whether the appliance uses compression, quick-connect, or a factory tube
-
Whether a reducer or union is necessary
Quick-connect tubing must be round, clean, and cut squarely. Push it to the fitting’s full insertion depth. A tube that enters only the first seal may hold temporarily and then leak under pressure.
Compression connections work differently. The ferrule seals as the nut is tightened, and plastic tubing may need an internal insert to prevent collapse. Do not mix parts from unrelated fitting systems merely because their nominal sizes appear similar.
For long runs, pressure loss depends on much more than diameter. Elevation, fittings, appliance valves, available storage pressure, and demand all matter. Any change from the filtration system’s specified tubing should be checked for compatibility first.
Refrigerator and Ice Maker Connection Kits
A pre-matched kit can reduce fitting guesswork when the RO outlet and refrigerator inlet use common connection sizes. A useful kit should provide the necessary tubing, tee or outlet adapter, dedicated shutoff, and refrigerator connection hardware for the intended setup.
Before choosing a kit, verify that it matches:
-
The RO product-line size
-
The refrigerator inlet
-
The required tubing length
-
Quick-connect or compression hardware
-
The system manufacturer’s plumbing arrangement
Frizzlife offers refrigerator and ice maker connection kits for shoppers who need compatible connection components. Check the listed contents and dimensions against both appliance manuals rather than assuming one kit fits every system.
Tools Needed for a Clean, Leak-Resistant Installation
Useful tools include:
-
A sharp tubing cutter
-
Adjustable wrenches
-
A drill and appropriate bits
-
Flashlight
-
Tape measure
-
Marker or labels
-
Towels and a shallow container
-
Tubing clips and suitable fasteners
-
Protective eye wear
-
A small inspection mirror
-
Paper towels for detecting slow leaks
Use two wrenches where necessary: one to hold a stationary valve or adapter and one to tighten the nut. This prevents torque from transferring into the refrigerator valve or filtration-system housing.
Optional Pressure-Support Components for Tankless Systems or Long Runs
Additional hardware should be selected only after identifying why performance is inadequate.
Possible options include:
-
Auxiliary product-water tank: Provides a pressurized reserve between a compatible tankless system and refrigerator.
-
Product-water delivery pump: Raises distribution pressure from stored treated water to the refrigerator.
-
Feed-water booster pump: Raises low incoming pressure to the RO system so the membrane can operate under suitable conditions.
-
Permeate pump: Uses hydraulic energy to improve certain tank-based RO configurations without serving the same role as an electric delivery pump.
These devices are not interchangeable. A feed-water booster addresses pressure entering the RO system; a delivery pump supports treated water leaving storage. A permeate pump affects membrane-to-tank operation on compatible systems.
Confirm that any pump or auxiliary tank is approved for the RO configuration, pressure range, tubing, and refrigerator. Do not install a pump solely because the refrigerator line is long without first checking for closed valves, clogged filters, low tank charge, or kinked tubing.
Troubleshooting a Filtered Water Ice Maker or Refrigerator Line
Troubleshoot from the RO system toward the appliance. This isolates the point where flow is lost instead of changing several components at once.

Can an RO System Cause Low Water Pressure at the Refrigerator Dispenser?
Yes. Reverse osmosis can result in lower delivery pressure than the household cold-water line, particularly when water is supplied from a partially depleted storage tank or through a long, restrictive route.
Common causes include:
-
The RO tank has not fully refilled.
-
The tank air charge is incorrect.
-
Prefilters, the membrane, or post-filter are restricted.
-
The refrigerator line is kinked or crushed.
-
A shutoff valve is only partially open.
-
The internal refrigerator filter adds excessive resistance.
-
The sink faucet and refrigerator are being used simultaneously.
-
The tubing run has too many fittings or sharp bends.
-
A tankless system is not responding consistently to brief appliance demand.
-
The refrigerator inlet valve requires more pressure than the RO system provides.
Start by allowing the RO system to refill completely. Compare flow at the RO faucet with flow at the refrigerator. If the faucet is also slow, the problem is probably upstream of the refrigerator branch. If faucet flow is normal but refrigerator flow is poor, inspect the tee, shutoff, tubing, internal filter, and appliance inlet.
Why Are My Ice Cubes Small or Hollow After Connecting the Fridge to My RO System?
Small or hollow cubes usually indicate that the ice mold is not receiving a complete fill. Possible causes include:
-
Low or inconsistent product-water pressure
-
A depleted RO storage tank
-
Restricted or kinked tubing
-
A clogged post-filter or refrigerator filter
-
Simultaneous use of the RO faucet
-
Air remaining in the new line
-
A partially opened shutoff valve
-
A restrictive or malfunctioning refrigerator inlet valve
Let the system refill, purge air through the dispenser if available, and observe several ice-making cycles. If the problem continues, test flow immediately before the refrigerator inlet. Good flow at that point suggests an appliance-side issue rather than an RO plumbing problem.
Do I Need a Booster or Permeate Pump to Run My Fridge and Ice Maker?
Not necessarily. Many short, correctly installed tank-based connections operate without added pressure support. A pump or auxiliary tank becomes a consideration when measured performance does not meet the refrigerator’s requirements after ordinary restrictions and maintenance issues have been ruled out.
Use these factors:
-
Refrigerator minimum supply pressure
-
RO feed pressure
-
Pressure and flow at the treated-water outlet
-
Storage-tank condition
-
Tubing length and elevation
-
Tankless versus tank-based design
-
Simultaneous faucet and refrigerator demand
-
Compatibility with the proposed pressure-support component
A booster pump improves pressure feeding the RO membrane. It does not directly solve every weak refrigerator line. A product-water delivery pump supports downstream distribution, while a permeate pump works only with compatible tank-based designs. Select the component based on the diagnosed pressure problem.
Why Is My RO System Making Noise or Constantly Draining After I Tee It to My Fridge or Ice Maker?
An RO system may run more often after adding a refrigerator because the ice maker and dispenser create additional demand. Temporary production and drain flow can be normal while the storage tank refills.
Continuous operation may indicate:
-
A refrigerator or tubing leak
-
A shutoff valve that does not close fully
-
Frequent ice production after installation
-
Simultaneous faucet and dispenser use
-
A tank that never reaches shutoff pressure
-
Incorrect tee placement
-
A failed automatic shutoff component
-
A tankless system repeatedly cycling in response to small demands
Close the refrigerator branch valve. If the abnormal operation stops, inspect the refrigerator line and appliance for demand or leakage. If it continues, troubleshoot the RO system itself according to its manual.
Why Is the Refrigerator Getting Only Drips or No Water?
Check the system in this order:
-
RO faucet: Confirm that the filtration system is producing and delivering water.
-
Tank outlet: Verify that the tank valve is open and the tank contains water.
-
Post-filter outlet: Check for adequate flow after the final filter.
-
Tee fitting: Confirm correct placement and full tube insertion.
-
Refrigerator shutoff: Make sure it is fully open.
-
Tubing route: Look for kinks, pinching, freezing, or damage.
-
Refrigerator inlet: Disconnect the line safely and test flow into a container.
-
Internal filter or bypass: Confirm correct installation.
-
Appliance valve: If supply flow is adequate but the refrigerator receives no water, the inlet valve or appliance controls may require service.
If the line was just installed, trapped air may cause temporary sputtering, noisy fills, or delayed dispensing. Purge the line through the dispenser as directed by the refrigerator manual, allowing the RO tank to refill between extended flushing attempts. To isolate a restriction, test flow at the tee outlet, after the refrigerator shutoff valve, at the end of the routed tubing, and immediately before the refrigerator inlet. The first point where flow drops identifies the restricted segment or fitting.
Always shut off and depressurize the line before disconnecting it.
How to Check Fittings and Shutoff Valves for Leaks
Dry each connection completely, then wrap or press a clean paper towel around it. Operate the dispenser or allow the ice maker to fill so the line experiences changing pressure.
Inspect:
-
Both sides of the tee
-
The refrigerator branch port
-
The inlet and outlet of the shutoff valve
-
Every union or adapter
-
Compression connections
-
The refrigerator inlet valve
-
Tubing where it passes through cabinets or floors
For a leaking quick-connect fitting, shut off the water, depressurize, remove the tubing, and inspect the end. Recut damaged tubing squarely and reinstall it to the proper depth.
For a compression leak, verify that the tubing, insert, ferrule, and nut are compatible. Tighten gradually rather than applying excessive force. Replace deformed parts instead of repeatedly tightening them.
Recheck the installation after several hours and again after the first full day of normal use.
When a Long Refrigerator Water Line Needs Rerouting or Pressure Support
Consider rerouting when the line:
-
Takes an unnecessarily indirect path
-
Contains many elbows or unions
-
Is pinched behind cabinets or the appliance
-
Passes through a freezing or high-heat area
-
Cannot be inspected or isolated
-
Shows adequate pressure near the RO system but poor flow at the refrigerator
Consider compatible pressure support only after correcting route and maintenance problems. Measure performance with the tank full and compare it with the refrigerator manual. If the appliance still receives inadequate pressure, consult the RO manufacturer, a plumber, or an appliance technician about an auxiliary tank or appropriate pump.
When to Stop Troubleshooting and Contact a Qualified Professional
Stop and seek help if:
-
You cannot positively identify the treated product-water line.
-
The refrigerator requires pressure the RO system cannot safely provide.
-
A fitting continues to leak after correct reassembly.
-
Tubing must pass near electrical, gas, or structural components.
-
Concealed plumbing shows signs of leakage.
-
The RO system drains continuously after ordinary demand stops.
-
The refrigerator inlet valve has adequate supply but does not operate.
-
Adding a pump or pressure tank would exceed system instructions.
-
Local plumbing rules require licensed installation.
A successful refrigerator water line reverse osmosis setup depends on more than attaching a tee. Connect only to the finished product-water outlet, use matched fittings and an accessible shutoff, protect the tubing route, and verify pressure against the refrigerator manual. Once the line is flushed and leak-tested, both the dispenser and ice maker can receive the same treated water as the under-sink faucet.