


If no water came out after changing a filter, first determine whether you have true zero flow or simply reduced pressure while the new cartridge primes. Confirm that an unfiltered cold-water faucet works, verify every required valve is open, and inspect the new cartridge for correct compatibility, orientation, seating, and locking.
Most immediate post-change problems involve a closed valve, an improperly seated cartridge, trapped air, kinked tubing, or a blocked faucet aerator. Reverse osmosis systems add other possibilities, including an empty storage tank, incorrect tank pre-charge, restricted prefilters, or limited membrane production.
Work through the water path in order instead of repeatedly removing parts. Turn off the feed water and relieve system pressure before opening a housing, disconnecting tubing, or reseating a cartridge. If you find leaking connections, damaged parts, or persistent zero flow after correct reassembly, stop and contact Frizzlife support or a qualified plumbing professional.
No water came out after a filter change: diagnose zero flow before treating it as low pressure
“No water came out” and “the water is flowing slowly” are different symptoms.
With zero flow, the filtered faucet remains dry or releases only a brief drip even though the rest of the home has water. That usually points to a closed water path, a cartridge that has not opened the filter head’s internal valve, a severe tubing restriction, or a system-specific fault.
Low flow means water continues to run, but the stream is weaker than before. Common possibilities include trapped air, a restrictive or incompatible cartridge, low inlet pressure, sediment loading, a clogged aerator, or an RO tank that has not refilled.
Before troubleshooting either condition:
- Place a towel or shallow pan under the system.
- Check for leaks, wet fittings, cracked housings, or unusual swelling.
- Turn off the system’s feed water before opening any housing or connection.
- Open the filtered faucet to relieve pressure.
- Follow the instructions for your exact filter model.
Do not loosen a pressurized housing or pull tubing out of a quick-connect fitting while the feed water is on.
Confirm that the household cold-water supply is working at an unfiltered faucet
Open a nearby unfiltered cold-water faucet. If that faucet also has no water or unusually weak pressure, the filter may not be the primary problem. Check for a household supply interruption, a closed main valve, or a broader plumbing issue.
The location of the symptom helps narrow the cause:
- Only the dedicated filtered faucet has no water: Focus on the filter feed valve, cartridge, filter head, outlet tubing, and faucet.
- Several cold-water fixtures are affected: Investigate the shared cold-water supply or a whole-house component.
- Every fixture lost pressure after whole-house filter maintenance: Check the main shutoff, service and bypass positions, and cartridge installation.
- An RO faucet briefly flows and then stops: Check the storage tank and water-production side of the RO system.
- A direct-flow RO faucet remains dry: Check power where applicable, feed-water delivery, cartridge installation, and model-specific status indicators.
If household water is working normally, continue through the filter’s water path.
Which valves should you check when there is no water from the filter faucet?
The relevant valves depend on the system, but common examples include:
- The cold-water angle stop under the sink
- A dedicated filter or RO feed-water valve
- An inlet or outlet shutoff integrated into the system
- An RO storage-tank valve
- A whole-house service or bypass valve
- A faucet lever or dispenser control
A valve can look open while still being only partially open. Compare its position with the system manual rather than assuming all quarter-turn valves use the same orientation.
If a self-piercing saddle valve or another small feed fitting supplies the system, it may be partially blocked or may not have opened the pipe completely. These fittings are not used in every installation. Do not remove or replace one unless you can safely isolate the plumbing and the installation method permits homeowner service.

Check the feed valve, filter shutoff, tank valve, and bypass position in water-flow order
Follow the direction water should travel:
- Household cold-water supply: Confirm water is available before the filter connection.
- Dedicated feed valve: Make sure the filter or RO feed is fully open.
- Filter inlet and outlet controls: Verify any model-specific shutoffs are in the operating position.
- RO tank valve: On a tank-based RO system, confirm the valve is open and aligned as the manual directs.
- Whole-house bypass: Make sure the system is fully in service or fully in bypass—not left between positions.
- Filtered faucet: Open it fully while testing.
A bypass test can be useful on a whole-house system. If normal household flow returns in bypass mode, the restriction is likely in the filter assembly, cartridge, or associated valves. If flow remains poor in bypass, look upstream or elsewhere in the plumbing.
Only use bypass mode when the system is designed for it. An under-sink filter without a documented bypass should not be re-plumbed merely to conduct a test.
Verify that the new cartridge is compatible, correctly oriented, fully seated, and locked
A cartridge can fit into a housing without being hydraulically compatible. Differences in end-cap design, flow direction, filter media, or sealing surfaces can restrict or completely block the water path.
Check all of the following:
- The replacement cartridge number matches the system documentation.
- Direction arrows point with the intended water flow.
- Protective caps and packaging have been removed.
- The cartridge sits straight rather than tilted in the housing.
- A quick-change cartridge reaches its marked lock position.
- The cartridge has engaged any internal valve or poppet in the filter head.
- O-rings and seals are present, clean, undamaged, and in their proper grooves.
- The housing threads are aligned and not cross-threaded.
Do not rely only on whether the cartridge “feels tight.” A twist-lock filter may need to align with a mark, while a housing-style cartridge may need to remain centered as the sump is raised into place. The correct procedure is model-specific.
Overtightening does not improve cartridge performance. It can pinch a seal, damage threads, or make future maintenance difficult. If a seal requires lubrication, use only the type specified by the manufacturer.
After reseating the cartridge, reassemble the system, close the filtered faucet if instructed, and restore the feed water slowly. Watch every connection for leaks before opening the faucet to purge the system.
If troubleshooting confirms a cartridge or system mismatch rather than a plumbing fault, compare correctly configured under-sink water filtration systems. Verify model-specific compatibility and installation requirements before buying a replacement.
Inspect under-sink tubing, quick-connect fittings, and the faucet aerator for blockages or kinks
An under-sink filter with no water may have a clear inlet and a correctly installed cartridge but still be blocked downstream.
Trace each tube from the feed connection to the filter and from the filter to the faucet. Look for:
- Tubing folded behind a cabinet item
- Sharp bends near a fitting
- A tube crushed by the filter housing or mounting bracket
- A quick-connect tube that was inserted at an angle
- A tube that is not fully inserted
- Inlet and outlet tubes accidentally reversed
- Debris in the filtered faucet aerator
If a quick-connect fitting must be inspected, shut off the water and relieve pressure first. Follow the model instructions for removing the locking clip and pressing the collet. Pulling forcefully on a pressurized connection can damage the tube or fitting.
A clogged aerator can make a working filter appear to have no flow. If the faucet design permits, remove the aerator, note the order of its screens and washers, and briefly test the faucet without it. Clean loose debris and reinstall the components correctly. If flow is still absent with the aerator removed, the restriction is farther upstream.

Can trapped air stop water from flowing after a filter replacement?
Yes. Removing a cartridge introduces air into the filter housing and tubing. Depending on the system, trapped air can cause a delay, spurting, pulsing flow, or temporary no-flow while the cartridge fills.
Air is more likely when:
- Several cartridges were replaced at once.
- The system was fully drained during maintenance.
- Water was restored too quickly.
- An RO system’s housings, membrane stage, or tank line contained air.
- A high point in the tubing trapped an air pocket.
Air purging is not a complete explanation for persistent zero flow. If the faucet remains completely dry and silent, recheck the feed valve and cartridge seating. If the faucet sputters and gradually becomes steadier, the system is more likely filling and purging normally.
Purge trapped air according to the model instructions and distinguish temporary sputtering from persistent no-flow
Restore the water slowly unless your manual directs otherwise. Open the filtered faucet and allow the filter to fill and release air according to the model’s flushing procedure.
Temporary priming behavior may include:
- Hissing or air noise
- An uneven stream
- Short pauses followed by spurts
- Cloudiness caused by tiny air bubbles
- Initial carbon fines from certain new cartridges
The flow should become more stable as air leaves the system. Follow the specified flush duration or volume for your exact cartridge; flushing requirements vary by filter media and system design.
Stop treating the issue as routine air purging if:
- There is no sign of water entering the system.
- Flow does not improve after the model-approved procedure.
- A housing or fitting begins to leak.
- The system repeatedly loses prime.
- An RO system shows no expected drain activity or water production.
- Unusual noise continues after the system should be full.
In these situations, shut off the feed and return to the valve, cartridge, and tubing checks.
When does a new filter need extra flushing before normal flow returns?
A new cartridge may need additional flushing when the filter media must become fully saturated, air remains in the housing, or loose manufacturing fines need to clear. Multi-stage systems and RO systems may take longer to return to normal operation because several components must refill.
Use the manual’s flushing instructions rather than a generic time or gallon estimate. Required flushing depends on the cartridge, media, system volume, and whether an RO tank was drained.
Extra flushing may be appropriate when water is flowing but still sputters or contains harmless-looking air bubbles or filter fines addressed by the product instructions. It is not the right response when the system is completely dry because a valve is closed, a cartridge is backward, or tubing is blocked.
No-water decision table: symptom, first check, likely cause, next action, and stop condition
|
Symptom |
First check |
Likely cause |
Next action |
Stop condition
|
|---|---|---|---|---|
|
No water at the filtered faucet; unfiltered faucet works |
Filter feed valve |
Closed valve or blocked feed fitting |
Fully open the correct valve and inspect the feed path |
Valve is stuck, damaged, or leaking |
|
No water immediately after installing a cartridge |
Cartridge identity and lock position |
Wrong, reversed, or incompletely seated cartridge |
Depressurize and reinstall according to the manual |
Correct cartridge still will not engage or the head appears damaged |
|
Faucet sputters and flow gradually improves |
Flushing procedure |
Trapped air or normal priming |
Continue the model-approved purge |
No improvement or a leak develops |
|
Faucet produces only a slow trickle |
Tubing and aerator |
Kink, crushed line, or blocked aerator |
Correct tubing route and clean the aerator |
Tubing or fitting is damaged |
|
Whole-house pressure drops after replacement |
Bypass and service valve positions |
Valve left between positions or restrictive cartridge |
Correct valve position; use supported bypass testing |
Pressure remains poor in bypass |
|
RO faucet flows briefly, then stops |
Storage-tank valve and tank fill status |
Closed or empty tank, incorrect pre-charge, or bladder problem |
Allow production; perform only manual-approved tank checks |
Suspected bladder failure or leaking air valve |
|
Tank-based RO system does not refill |
Feed supply and prefilters |
Restricted feed, clogged prefilter, or membrane-side issue |
Check inlet and production sequence |
Persistent zero production after correct maintenance |
|
Direct-flow RO system has no output |
Feed water, power where required, and cartridge status |
No inlet supply, installation fault, or internal protection state |
Follow model diagnostics |
Error persists or internal service is required |
|
Flow was normal, then quickly declined |
Cartridge condition and source-water sediment |
Rapid sediment loading or incompatible cartridge |
Verify cartridge and investigate feed-water conditions |
Repeated premature clogging continues |
Fix slow RO water flow by checking tank pressure, feed valve position, and whether the RO membrane clogged after overdue maintenance
Reverse osmosis troubleshooting should begin with the same basics as a standard under-sink filter: confirm household water, open the feed valve, verify cartridge installation, and inspect the tubing. Then determine whether the RO system uses a storage tank or direct-flow production.
For a tank-based RO system, slow faucet flow does not always mean the membrane is clogged. The tank may simply be empty after maintenance. An RO membrane produces purified water progressively, so a drained tank must refill before it can provide its usual stored-water delivery.
Check the following:
- Is the RO feed-water valve fully open?
- Is the storage-tank valve open?
- Were the prefilters installed in the correct positions?
- Was the RO membrane disturbed or replaced?
- Is there normal drain activity while the system is producing water?
- Does the tank become heavier as it fills?
- Does the faucet flow briefly and then stop?
Overdue prefilter maintenance can restrict water before it reaches the membrane. Sediment or carbon prefilters may therefore be the actual cause of slow RO production even when the membrane receives the blame. A membrane can also lose production capacity or become fouled, but it should not be replaced without first verifying the feed path, prefilters, valve positions, and tank behavior.
Tank air pre-charge is another model-specific factor. Checking it generally requires isolating the feed, completely draining the water side of the tank, and measuring at the air valve. Never measure or adjust pre-charge against a full tank, and do not apply a generic pressure value. Use the specification and procedure for the exact tank and RO model.
Isolate RO no-flow by checking the inlet, drain activity, water production, tank filling, and faucet delivery in sequence
A stepwise test prevents unnecessary part replacement:
- Inlet: Confirm water reaches the RO feed connection.
- Prefilter stages: Verify each cartridge is compatible, oriented correctly, and fully installed.
- Production and drain side: Check for the model’s expected signs of operation, including drain activity where applicable.
- Tank filling: For tank-based systems, determine whether water is entering and accumulating in the tank.
- Tank delivery: Confirm the tank valve is open and that stored water can leave the tank.
- Postfilter and faucet: Inspect the final tubing, postfilter, faucet, and aerator for downstream restriction.
Do not disconnect live RO lines merely to see whether water sprays from them. If the manual does not provide a safe isolation procedure, contact support.
Separate storage-tank pressure problems from direct-flow RO problems
Tank-based and direct-flow RO systems should not be diagnosed the same way.
A tank-based RO system may have no faucet water because the tank is empty, its valve is closed, its pre-charge is incorrect, or its internal bladder has failed. Water production can be working even while faucet delivery is poor.
A direct-flow RO system does not rely on a pressurized storage tank. Its troubleshooting path may involve inlet pressure, electrical power, pump operation, cartridge status, sensors, or internal controls. Tank pre-charge instructions do not apply.
If diagnosis shows that the existing configuration cannot meet verified supply-pressure or household-use requirements, review appropriately configured under-sink reverse osmosis systems. Confirm model-specific inlet, electrical, installation, and maintenance requirements before changing systems.
Stop troubleshooting if there is a leak, damaged fitting, stuck internal valve, or persistent zero flow after correct reassembly
Stop DIY work and shut off the feed water if you find:
- A cracked housing or filter head
- A fitting that continues to leak after correct reinsertion
- Damaged, deeply scratched, or deformed tubing
- Cross-threaded housing connections
- A stuck or broken internal valve
- Water near electrical components
- Repeated leaks after depressurization and reassembly
- Persistent zero flow after the correct cartridge, valves, and tubing have been verified
Repeated disassembly can turn a small installation problem into damaged threads, seals, or fittings. Document the system model, cartridge number, valve positions, and steps already completed before contacting support.
Why can a new water filter cause slow flow or pressure loss?
Every filter creates some resistance to flow. Whether that resistance is noticeable depends on inlet pressure, cartridge design, water demand, tubing, fittings, and source-water conditions.
A filter that provides acceptable flow in one installation may feel slow in another. That does not justify using an unapproved cartridge or altering the system; it means compatibility and operating conditions must be verified together.
Balance filter resistance with available inlet pressure and required faucet flow
Pressure and flow are related but not identical. Static pressure is measured when water is not moving. Dynamic pressure reflects conditions while a fixture is running. A supply can appear adequate at rest but fall sharply when water demand increases.
Filter media, tubing, fittings, and faucets all add resistance. A finer or denser cartridge may create a greater pressure drop than a more open design. The practical effect becomes more noticeable when the incoming supply is already weak or when multiple fixtures draw water at once.
Do not assign a universal minimum pressure to every system. Check the operating range for the exact model. Investigate household pressure only after obvious filter-specific restrictions have been ruled out.
Investigate household pressure only after ruling out filter-specific restrictions
If unfiltered fixtures are also weak, or pressure drops substantially throughout the home under normal demand, broader pressure investigation may be appropriate. Possible causes lie outside the filter as well as within it, so do not assume that adding equipment will solve the problem.
Pressure-control equipment should be considered only after measurements confirm a pressure-control problem. If a regulator is faulty, incorrectly selected, or requires professional evaluation, review pressure regulator options only after confirming plumbing, pressure-range, and filter-system compatibility. Incorrect pressure adjustment can damage fixtures or filter components.
Decide whether to flush, reseat, replace, or escalate based on when the water filter no-flow symptom began
Use the symptom timeline:
- Immediately after replacement: Recheck valves, seating, orientation, tubing, and air purge.
- Flow improves during flushing: Continue the approved priming procedure.
- Flow stays at zero: Look for a closed path or internal valve problem.
- Flow starts normally and rapidly declines: Consider sediment loading, a defective or incompatible cartridge, or a restricted feed.
- Flow gradually declines over the service period: Evaluate cartridge loading and the maintenance schedule.
- Flow changes throughout the home: Investigate whole-house equipment and supply conditions.
- RO faucet flow fades after a short burst: Check tank storage and production separately.
Replace a cartridge only when the evidence supports incorrect compatibility, clogging, damage, or the end of its specified service period.
What to Consider After Troubleshooting
If checking the valves, cartridge installation, tubing, and flushing procedure has not resolved the issue, the next step depends on what your diagnosis reveals. Explore compatible replacement filters, or compare under-sink reverse osmosis systems if a full system upgrade is appropriate.
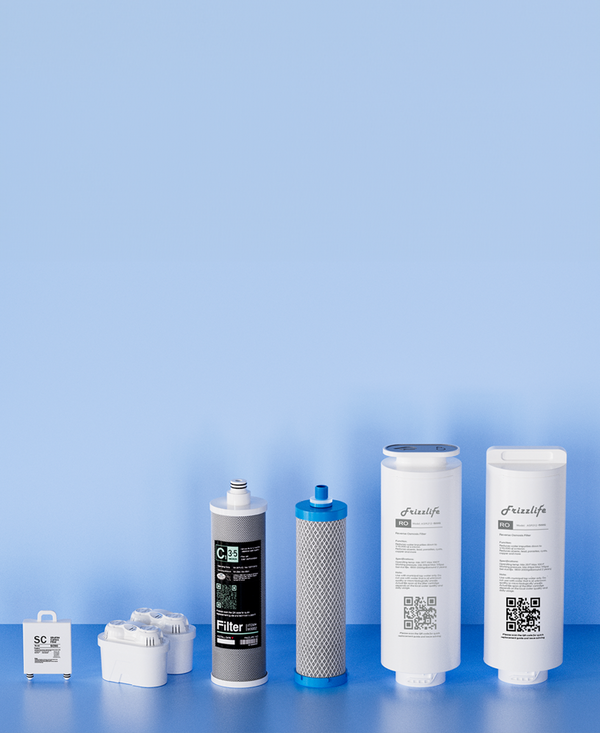
Frizzlife Replacement Filters
Suspect an incompatible, damaged, or clogged cartridge? Browse Frizzlife replacement filters and verify the exact cartridge model before replacing your existing filter.
Find Replacement Filters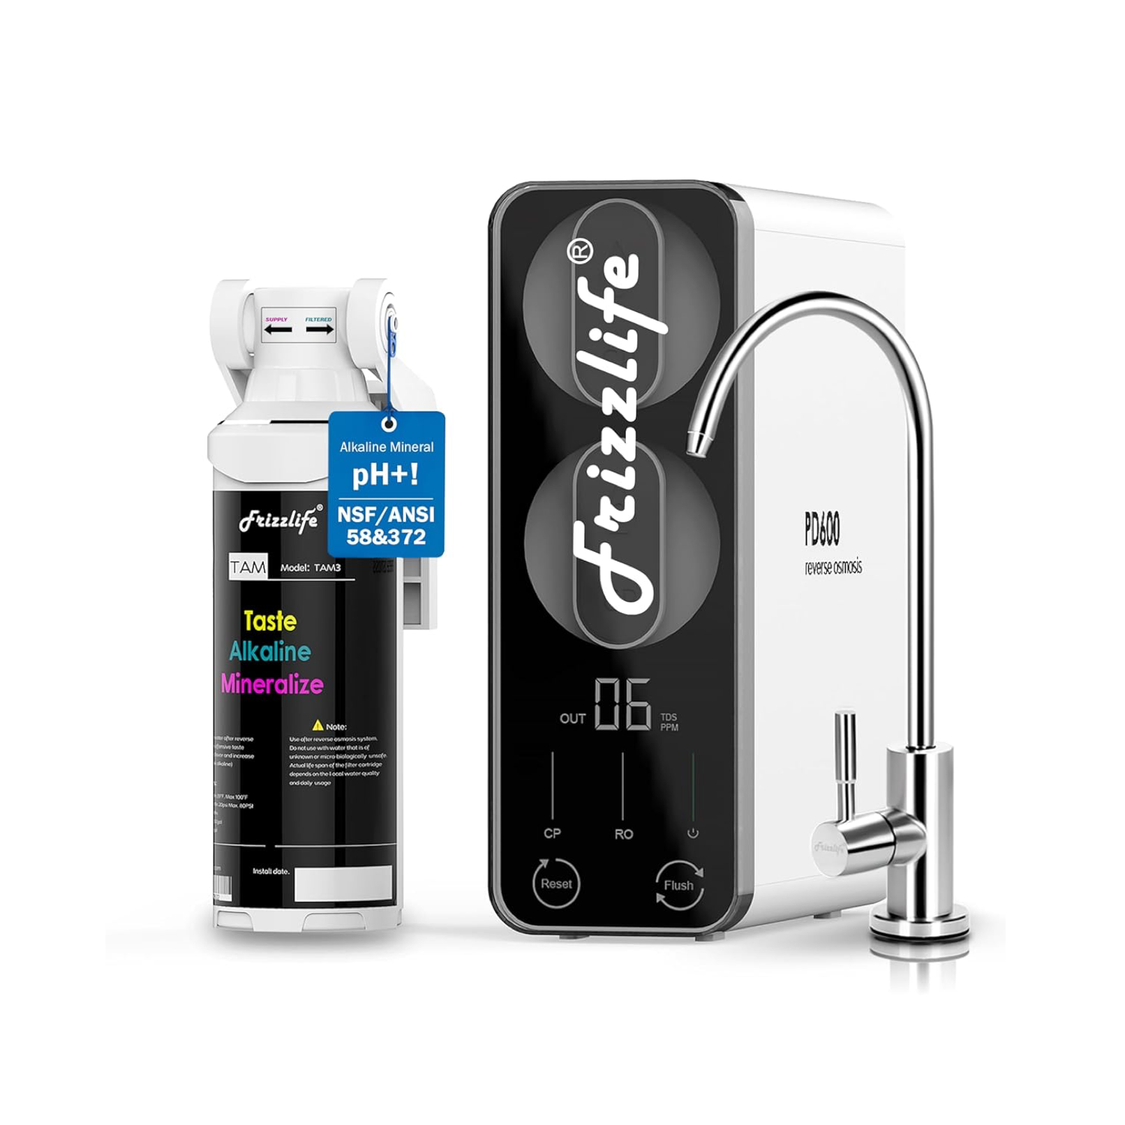
Frizzlife PD600-TAM3
Considering a complete system upgrade? Explore this tankless under-sink reverse osmosis system with alkaline remineralization, a dedicated drinking water faucet, and a smart display.
Explore PD600-TAM3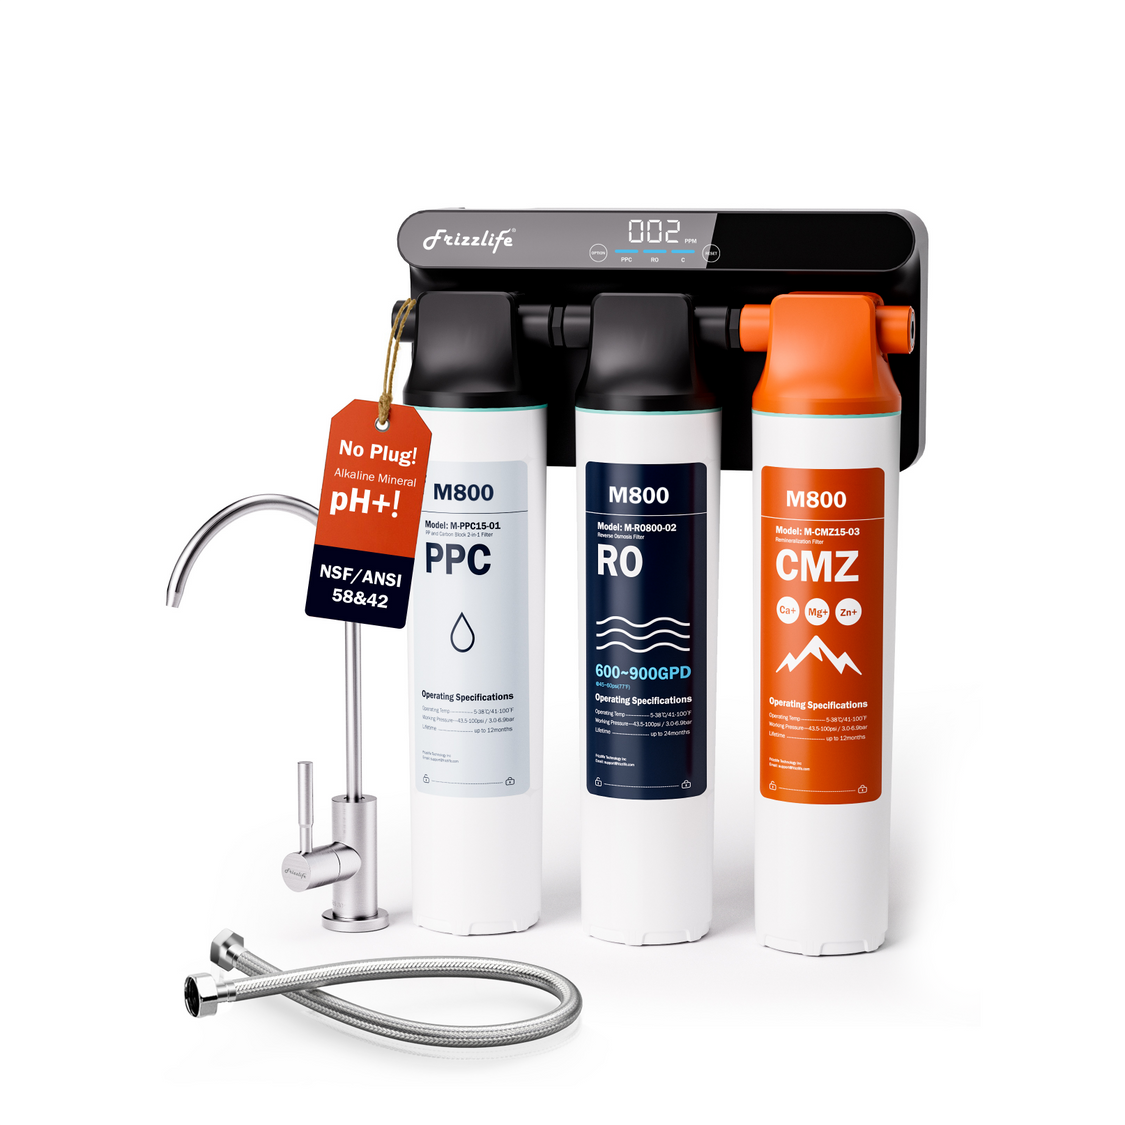
Frizzlife M800
Prefer a tankless RO system that operates using available feed-water pressure without mains electricity? Review the M800 and confirm its inlet-pressure and installation requirements.
Explore M800Important: A new system will not correct a closed supply valve or an unresolved plumbing restriction. Always confirm cartridge compatibility, inlet-water conditions, and installation requirements before purchasing replacement parts or upgrading your system.
Distinguish a clogged new cartridge from sediment loading, overdue prefilter maintenance, or a restricted feed fitting
A “clogged new filter” may actually indicate an upstream problem. Heavy source-water sediment can load a cartridge quickly. In a multi-stage system, an overdue prefilter can restrict water before it reaches later stages. A small, partially obstructed feed fitting can create similar symptoms.
Look for patterns:
- Visible sediment in the old housing suggests loading at the source.
- Repeated early flow loss suggests recurring water-quality or sizing conditions.
- One restricted stage in a multi-stage system can limit the entire system.
- No inlet flow points to the feed connection rather than the cartridge media.
- Normal inlet flow but no outlet flow points toward cartridge installation, compatibility, or an internal head issue.
Repeatedly replacing cartridges without identifying the source of the restriction increases effort without solving the underlying problem.