


Installing an under-sink reverse osmosis system is usually straightforward until a garbage disposal, dishwasher hose, air-gap device, and crowded drain assembly compete for the same space. A successful reverse osmosis garbage disposal installation depends less on whether the appliances are compatible—they usually are—and more on how the RO wastewater line enters the drain.
The safest connection depends on your sink configuration, available straight drainpipe, local plumbing code, and the RO manufacturer’s instructions. Common options include a drain saddle above the P-trap, an air-gap drain connected through a disposal adapter, or a compatible adapter that accepts both RO and dishwasher discharge.
Clamp-on RO drain saddles are still supplied with some systems, but plumbing-code treatment varies and major model codes restrict saddle-type drainage fittings. Do not drill a household drainpipe unless the RO manufacturer’s instructions and the local authority having jurisdiction specifically permit that connection method. Where a saddle is not permitted, use an approved drain-line adapter, branch fitting, or other code-compliant connection.
Before drilling a drainpipe or mounting the RO unit, map the complete drain path. Correct planning helps prevent drain noise, food-debris clogs, air-gap leaks, and RO backflow.
Can an RO System Drain Into a Garbage Disposal?
Yes, an RO system can discharge into plumbing connected to a garbage disposal when an approved connection method is used. In many installations, the RO drain passes through an air-gap faucet or separate air-gap device before entering an adapter connected to the disposal’s dishwasher inlet.
The RO wastewater tube should not simply be inserted into an opening in the disposal or attached to the disposal body. The drain must remain secure, unrestricted, and consistent with the RO system instructions and local plumbing requirements.
Decision Snapshot: Compatible Setups and Installation Red Flags
A drain saddle or disposal adapter is only the point where RO wastewater enters the household drain; neither component provides an air gap by itself. Where an approved air gap is required, route the wastewater through the specified air-gap faucet or device before it reaches the saddle or disposal adapter.
|
Under-sink layout |
Typical RO drain option |
Important condition |
|
Sink without disposal |
Approved drain-line adapter or other manufacturer/code-permitted connection above the trap |
If a clamp-on saddle is supplied, verify that local code permits saddle-type drainage connections before drilling. |
|
Disposal without dishwasher |
Approved disposal adapter or other manufacturer/code-permitted drain connection |
If a clamp-on saddle is considered, verify that both the RO manufacturer and local plumbing requirements permit it before drilling. |
|
Dishwasher without disposal |
Separate approved RO drain connection that preserves the dishwasher’s required backflow protection |
Preserve the dishwasher’s required backflow protection |
|
Disposal and dishwasher |
Purpose-built dual-branch adapter, combined air-gap arrangement, or other approved separate RO drain connection |
Preserve separate discharge paths and all required air-gap/backflow protection. |
|
No usable straight pipe |
Reconfigure the drain or use an approved adapter |
Do not clamp a saddle onto a curved fitting or disposal body |
|
Repeated sink backups or slow drainage |
Correct the household drain problem first |
An RO connection should not be added to a poorly draining assembly |
Installation red flags include:
-
No straight, accessible drainpipe above the P-trap
-
A proposed saddle location directly beside the disposal discharge
-
Dishwasher and RO tubing connected with an improvised tee
-
Kinked tubing, tubing touching the disposal body, or an air-gap outlet tube that runs uphill or sags instead of draining by gravity
-
No suitable faucet hole or required air-gap location
-
A powered RO system with no appropriate electrical outlet
-
Existing leaks, corrosion, slow drainage, or recurring disposal clogs
What Changes When a Garbage Disposal Is Under the Sink?
A disposal changes both the available space and the character of wastewater flowing through the drain. Its body can block mounting space for the RO module or storage tank. Its outlet also carries turbulent water and food debris, increasing the chance that an RO drain opening placed too close to it will become restricted.
The disposal may already use its auxiliary inlet for a dishwasher. If that inlet is occupied, the RO drain cannot simply be pushed onto the same barb. A compatible branch adapter or combined air-gap arrangement is needed, or the RO must connect to a separate straight section of drainpipe.
Disposal vibration is another consideration. RO tubing should be secured away from the disposal, electrical cord, switch components, and any parts that may move during servicing.

When the Existing Layout Requires a Plumber
Professional help is appropriate when:
-
The drain must be rebuilt to create a usable straight section.
-
The P-trap or disposal outlet is improperly aligned.
-
Local code requirements for RO or dishwasher air gaps are unclear.
-
The sink backs up when the dishwasher drains or disposal runs.
-
The cabinet contains damaged wiring, overloaded outlets, or unprotected electrical connections.
-
You would need to alter hardwired disposal or dishwasher circuits.
-
The installation involves an unusual multi-bowl, multi-trap, or shared-drain layout.
A short drain reconfiguration is generally safer than forcing a saddle onto a fitting that cannot provide a flat, watertight sealing surface.
Inspect Your Under-Sink Setup Before Installing the RO System
Do not begin by choosing a drilling location. First identify every plumbing, electrical, and service-space constraint under the sink.
Identify the Drain Components and Dishwasher Path
Locate these components:
-
Sink tailpiece: The straight pipe descending from the sink strainer or connected assembly
-
Garbage disposal outlet: The discharge pipe leaving the disposal
-
P-trap: The U-shaped section that holds water and blocks drain gases
-
Trap arm: The pipe running from the P-trap toward the wall
-
Dishwasher hose: Usually routed to an air gap, high loop, disposal inlet, or drain branch
-
RO drain path: The proposed route from the RO module through any required air gap to the household drain
The RO drain connection generally belongs above and before the P-trap. It should not be placed on the trap itself or beyond the trap toward the wall.
Compare Single-Basin and Double-Basin Sinks
A single-basin sink with a disposal often provides very little conventional tailpiece. The disposal outlet may lead almost immediately into the P-trap. If there is no adequate straight run, an approved disposal adapter or drain reconfiguration may be preferable.
A double-basin sink may offer more choices. For example, where a clamp-on saddle is permitted by both the RO manufacturer and applicable plumbing requirements, it may fit on a suitable straight tailpiece below the non-disposal basin while remaining above the P-trap. However, the two sink bowls may share a cross-connection that carries disposal debris, so the exact flow path still matters.
Do not assume a double-basin sink is automatically easier. Cross fittings, deep bowls, and offset disposals can leave less usable space than a simple single-basin arrangement.
Check Space for the Module, Tank, Tubing, and Service
Measure usable space rather than the cabinet’s exterior dimensions. Account for:
-
The disposal body and discharge pipe
-
Dishwasher hose and air-gap tubing
-
Cabinet hinges and drawer hardware
-
Shutoff valves and feed-water connections
-
RO tubing bend radius
-
Storage-tank access, if applicable
-
Filter removal and replacement clearance
-
Space to see and reach each connection during leak checks
Do not wedge a tank or filter module against the disposal. Components should be stable, accessible, and protected from vibration and heat.
If space is limited, compare tank and tankless configurations based on actual product specifications. Tankless does not automatically mean “fits anywhere”: the module may still require power, ventilation, mounting clearance, and room for filter service.

Confirm Faucet-Hole and Air-Gap Requirements
An RO faucet generally needs a suitable sink or countertop opening. An air-gap RO faucet contains additional wastewater connections, so it may have different hole, tubing, and under-counter clearance requirements from a non-air-gap faucet.
Major model plumbing codes, including the IPC and UPC, require reverse-osmosis drinking-water treatment discharge to enter the drainage system through an approved air gap or air-gap device. Local adoption and amendments vary, so verify the requirements that apply to your installation. Requirements vary by jurisdiction, and the air gap may be integrated into the RO faucet or installed as a separate listed device. Dishwasher air-gap rules also vary, although model plumbing codes commonly require an approved form of backflow protection.
A dishwasher high loop and an RO air gap perform related but different jobs. A high loop in the dishwasher hose is not automatically a substitute for the air gap required by an RO system.
Check Electrical Availability
Some RO systems operate without electricity, while pump-assisted or electronically controlled models may need an outlet. Do not assume the switched receptacle serving the disposal can power an RO system; that outlet may turn off with the disposal switch.
Before installation:
-
Identify which receptacle serves each appliance.
-
Disconnect under-sink power safely.
-
Confirm whether an available outlet is continuously energized.
-
Keep plugs and wiring away from potential leaks.
-
Do not use an improvised splitter or modify a dishwasher/disposal circuit without qualified electrical guidance.
Choose the Right RO Drain Connection for Your Layout
There is no single correct connection for every RO with a dishwasher drain or garbage disposal. Choose the method that matches the physical layout and the system’s approved installation instructions.
Option 1: Drain Saddle on a Straight Tailpiece
Some RO systems are supplied with a clamp-on drain saddle, but this connection should be used only where the manufacturer permits it and local plumbing requirements allow saddle-type drainage connections. A straight pipe section and correct placement are not, by themselves, enough to establish code compliance. The saddle must sit flat against the pipe, and its gasket and opening must align precisely.
If a drain saddle is permitted for the specific installation, confirm that:
-
The pipe matches the saddle’s specified size.
-
There is enough straight surface for the entire clamp.
-
The location is accessible for drilling and future inspection.
-
The opening is away from concentrated disposal discharge.
-
The RO manual permits a saddle connection.
It is a poor choice on corrugated tubing, a curved elbow, the P-trap, a glued fitting hub, or an irregular disposal discharge component.
Option 2: Air-Gap Drain Through a Garbage Disposal Adapter
A compatible adapter can route the outlet from an RO air gap into the disposal’s auxiliary inlet. This avoids drilling a drain saddle where little straight pipe is available.
The flow path is typically:
RO wastewater outlet → air-gap inlet → air-gap drain outlet → disposal adapter → disposal inlet → P-trap
If the disposal inlet has never been used, it may contain a factory knockout plug. Removing that plug is part of some disposal installations, but it must be done only according to the disposal and adapter instructions, with power disconnected. Confirm that the removed plug does not remain inside the disposal.
The drain tube from the air gap to the adapter should follow the specified route, without kinks, sagging sections that collect debris, or an unnecessary uphill run.
Option 3: Adapter for Both RO and Dishwasher Discharge
When the dishwasher already drains into the disposal, a purpose-built adapter may provide separate branches for dishwasher discharge and RO air-gap discharge. Combined air-gap devices are another possible solution where both discharges require above-sink backflow protection.
Do not connect RO and dishwasher tubing to the same barb or join them with a generic tee. Dishwasher discharge can be hot and forceful, while RO wastewater is comparatively slow. A poor shared connection can push water toward the RO line, create gurgling, or cause leakage at an air-gap device.
|
Connection method |
Best use |
Space needs |
Main limitation |
|
Clamp-on drain saddle, where permitted |
Suitable straight tailpiece above P-trap where manufacturer and local requirements allow it |
Room for clamp and drill |
Not permitted in some jurisdictions; can also clog if poorly positioned |
|
Disposal adapter |
Single-basin sink with limited straight pipe |
Clearance at disposal inlet |
Must match disposal and RO drain arrangement |
|
Dual-branch adapter |
Disposal already serving dishwasher |
Space for adapter and separate hoses |
Product-specific connections and routing |
|
Combined air-gap device |
RO and dishwasher both need managed air gaps |
Sink/counter opening and under-sink clearance |
Local code and component compatibility must be verified |
|
Drain reconfiguration |
No safe connection point exists |
Room for revised piping |
Often requires a plumber |
Why You Should Never Drill Into the Disposal Body
A disposal body is not a substitute for a straight drainpipe. It is curved, vibrates during operation, contains internal moving components, and cannot provide the flat sealing surface required by a drain saddle. Drilling it can damage the appliance and create electrical, leakage, and injury risks.
The disposal’s designated dishwasher inlet may be used only through a compatible connection. That is fundamentally different from drilling a new hole into the housing.
If a Drain Saddle Is Permitted, Where Can It Be Installed?
First verify that this connection method is permitted by the applicable plumbing code and the RO manufacturer. Some jurisdictions and model-code-based installations prohibit saddle-type drainage fittings.
An RO drain saddle should generally be installed on a straight, accessible drainpipe above the P-trap. The opening should face the side or upper portion of the pipe rather than the bottom, subject to the system’s instructions.
Placement With a Garbage Disposal
In a single-basin disposal layout, the only possible saddle location may be on the straight pipe between the disposal outlet and P-trap. That can be acceptable when there is sufficient straight pipe and the saddle is not crowded against the immediate disposal discharge.
The distinction is important:
-
Between the disposal and P-trap: Potentially acceptable on a suitable straight run
-
Immediately at the disposal outlet: Higher clogging and turbulence risk
-
On the disposal body or curved discharge elbow: Not acceptable for a standard saddle
-
On or after the P-trap: Incorrect for a typical under-sink RO saddle connection
Food particles can accumulate around a small RO drain opening. The farther the saddle is from the concentrated discharge point—while remaining above the trap and within the approved layout—the lower the chance of immediate debris impact.

Align the Saddle and Tubing
Before drilling:
-
Confirm that the drainpipe is straight, clean, and compatible with the saddle.
-
Position the port on the side or upper portion of the pipe unless the instructions specify otherwise.
-
Mark the hole through the saddle opening.
-
Remove or reposition the saddle as directed before drilling.
-
Drill only through one wall of the drainpipe.
-
Remove loose plastic and confirm a clean opening.
-
Align the gasket and saddle port directly over the hole.
-
Tighten evenly without deforming the pipe.
-
Insert the RO drain tubing to the specified depth and secure it.
A partially misaligned hole can cause hissing, slow drainage, or wastewater backup. Over-tightening can distort the gasket or pipe.
Drain Saddle Locations to Avoid
Do not install a standard RO drain saddle:
-
On the bottom of a horizontal drainpipe
-
On the P-trap or trap arm after the trap
-
On a curved elbow or fitting hub
-
On flexible or corrugated drain tubing
-
Directly on the garbage disposal
-
Immediately beside the disposal discharge opening
-
Where the dishwasher hose or cabinet hardware blocks access
-
Where the RO tube must bend sharply as soon as it exits the saddle
Check all clearances before drilling. Once a pipe has been drilled, moving the saddle usually means repairing or replacing that section.
Can a Dishwasher and RO System Use the Same Drain?
Yes. A dishwasher and RO system can ultimately discharge into the same household drain, and both may connect through plumbing associated with the same garbage disposal. However, they should retain separate, purpose-designed tubing paths and the required backflow protection.
“Same drain” does not mean “same hose.”
Sharing a Disposal Inlet Safely
A compatible branch adapter can allow the dishwasher and RO air-gap outlet to use the disposal’s auxiliary inlet. The adapter should provide separate connections sized and designed for each discharge.
Preserve the dishwasher hose route required by its manufacturer. Depending on local rules and appliance design, that may involve an above-sink dishwasher air gap, an approved integral backflow device, or another permitted configuration. Do not remove an existing dishwasher air gap merely to create space for the RO system.
Likewise, a dishwasher high loop does not automatically satisfy an RO air-gap requirement. Each appliance must follow its own installation instructions and applicable code.
Step-by-Step Installation With a Disposal or Dishwasher Present
These steps provide a planning sequence, not a substitute for the instructions supplied with the RO system, faucet, disposal, dishwasher, air gap, or adapter.
1. Shut Off Water and Disconnect Power
Close the cold-water supply valve and relieve pressure at the kitchen faucet. Unplug the disposal and dishwasher where accessible, noting which outlet serves each appliance. If either appliance is hardwired, use the appropriate circuit shutoff and verify that power is off.
Clear the cabinet and place a towel or shallow pan beneath the plumbing.
2. Dry-Fit Every Component
Position the RO module, tank if included, faucet tubing, feed-water tubing, and drain tubing before making holes. Simulate filter removal to confirm future service clearance.
Check that:
-
Tubing can make smooth bends.
-
The tank can be removed without dismantling the disposal.
-
Shutoff valves remain reachable.
-
The drain tube will not rub against the disposal.
-
The air-gap tubing can follow the required route.
-
Electrical cords remain away from plumbing connections.
3. Install the Feed-Water Connection and RO Faucet
Install the approved feed-water adapter on the cold-water line according to the RO instructions. Do not connect an under-sink drinking-water RO system to the hot-water supply unless its manufacturer explicitly permits that configuration.
Mount the RO faucet in a compatible existing hole or create a new hole only after confirming the sink or countertop material can be drilled safely. If using an air-gap faucet, connect each drinking-water and wastewater tube to the correct port.
4. Create the Drain Connection
If a clamp-on saddle connection has already been confirmed as permitted by the RO manufacturer and applicable local requirements, verify the location one final time before drilling. Keep the opening above the P-trap and away from the immediate disposal outlet.
For a disposal adapter, disconnect power, access the designated disposal inlet, and install the approved adapter according to its instructions. If a dishwasher is present, make sure its hose and the RO drain outlet remain on their intended branches.
5. Route and Secure Tubing
Route the RO drain tubing with smooth bends and no pinched sections. Follow the manufacturer’s instructions for slope, tubing length, insertion depth, and any required high routing.
A raised loop can help organize tubing and reduce unintended siphoning in some configurations, but it is not the same as a physical air gap. Do not treat a loop as a replacement when an approved air-gap device is required.
Use clips or ties to keep tubing away from:
-
The disposal body and outlet
-
Dishwasher hose vibration points
-
Sharp cabinet edges
-
Hinges and drawer slides
-
Electrical plugs and receptacles
-
Cleaning products that could damage tubing
6. Restore Water, Flush, and Test
Restore the cold-water supply slowly. Inspect the feed adapter, filter connections, faucet tubing, tank connection, drain saddle, air-gap tubing, and disposal adapter.
Flush the RO system exactly as its instructions require. During initial operation, test the drain under several conditions:
-
While the RO system is producing water
-
While opening and closing the RO faucet
-
While the dishwasher discharges
-
While running sink water
-
While operating the disposal with water flowing
Stop and correct the installation if water backs up toward an air-gap device, leaks from the faucet base, or escapes around the drain saddle.
Prevent and Troubleshoot RO Drain Noise, Backflow, and Clogs
Some RO drain noise is normal. Reverse osmosis systems discharge reject water while producing filtered water, and an air-gap faucet can make that flow more audible. Persistent gurgling, burping, leakage, or backup deserves investigation.
Why Does My RO Drain Make Noise?
A gentle trickle or brief hiss may be normal during water production or tank refill. The sound can become louder when wastewater falls into the drainpipe and echoes through the P-trap.
Common installation-related causes include:
-
A long or poorly supported drain tube
-
Kinked tubing
-
An uphill run or deep sag
-
A partially blocked air-gap outlet
-
A misaligned drain saddle hole
-
Disposal debris covering the drain opening
-
A slow or partially clogged P-trap
-
Dishwasher discharge pressurizing an improper shared adapter
-
Tubing touching the disposal and amplifying vibration
Noise that begins immediately after dishwasher discharge or disposal use is more concerning than a steady, light trickle during normal RO production.
How an Air Gap Helps Prevent RO Backflow
An air gap creates a physical break between the RO wastewater outlet and the household drain. If the sink drain backs up, the separation helps prevent contaminated drain water from being drawn into the RO system. Depending on the device, a backup may instead become visible as water leaking or discharging near the air-gap opening.
Some RO systems also contain a check valve. That valve can help control reverse flow inside the system, but it does not replace an air gap where an air gap is required. The two components serve different roles, and check-valve design is model-dependent.
Do not bypass an air gap or submerge its drain outlet as a default noise fix. Such alterations can defeat backflow protection, conflict with manufacturer instructions, or violate local code.
Troubleshooting Matrix
|
Symptom |
Likely cause |
Safe corrective action |
|
Gentle trickling during RO production |
Normal reject-water discharge |
Monitor; confirm the sound stops when the production cycle ends |
|
Loud gurgling at the RO faucet |
Restricted air-gap outlet, poor tube route, or slow drain |
Inspect for kinks, clogs, sagging tubing, and drain restrictions |
|
Hissing at the drain saddle |
Small or misaligned saddle opening |
Shut off the system and inspect saddle alignment |
|
Water leaking from an air-gap faucet |
Blocked outlet tube, clogged adapter, or backed-up sink drain |
Stop RO production, clear the downstream restriction, and retest |
|
Noise after dishwasher discharge |
Improper shared adapter or drainage backup |
Verify separate ports and inspect the disposal inlet and P-trap |
|
RO drain backs up when disposal runs |
Saddle too close to discharge or drain is restricted |
Clean the drain path; relocate or reconfigure if the problem repeats |
|
Persistent drain odor |
Dry, leaking, or improperly configured trap; buildup in drain |
Inspect and clean the drain; call a plumber if the cause is unclear |
|
Water around the saddle |
Loose clamp, damaged gasket, misalignment, or distorted pipe |
Shut off the RO feed and repair or replace the connection |
|
Drain flow continues beyond the model’s normal production or flush cycle |
Feed pressure, shutoff valve, membrane, check valve, or electronic control issue may be involved |
Confirm the expected drain cycle in the model manual, then follow model-specific troubleshooting or contact product support |
What to Check When an Air-Gap Device Leaks
Water at an air-gap faucet does not necessarily mean the drinking-water line is leaking. It can indicate that RO wastewater cannot move freely from the air gap to the drain.
Check:
-
Whether the air-gap outlet tube is kinked
-
Whether the tube slopes and bends as instructed
-
Whether the disposal adapter is blocked
-
Whether food debris has covered the saddle opening
-
Whether the P-trap or wall drain is slow
-
Whether dishwasher discharge is entering the wrong adapter branch
If clearing the visible restriction does not solve the problem, stop using the RO system until the drain is corrected.
Repeated backups, unexplained odors, persistent leaks, or wastewater appearing near electrical components require professional attention.

Final Fit Check Before Choosing an Under-Sink RO System
A disposal or dishwasher does not prevent you from installing an RO system, but it can determine which configuration fits and which drain method is practical.
Before choosing a system, confirm:
-
Cabinet fit: Measure around the disposal, plumbing, and dishwasher hose—not just the empty cabinet.
-
Service clearance: Leave room to remove filters and inspect connections.
-
Drain method: Identify a manufacturer-approved, locally permitted drain connection before purchase, whether that is an approved adapter or another compliant arrangement.
-
Air-gap needs: Verify local code and the system’s faucet or air-gap requirements.
-
Faucet opening: Confirm the available hole and countertop compatibility.
-
Power: Check whether the system needs a continuously energized outlet.
-
Tank choice: Compare the actual space requirements of tank and tankless designs.
-
Tubing path: Ensure every tube can run without kinks, heat exposure, or disposal contact.
-
Drain condition: Correct slow drainage and recurring clogs before adding the RO connection.
Once the layout is mapped, you can review Frizzlife reverse osmosis filter systems and compare each model’s installation, faucet, power, tank, and drain requirements against your available space.
Comparing under-sink RO options? Review the system layout, installation requirements, and replacement-filter access before choosing the setup that fits your cabinet and plumbing.
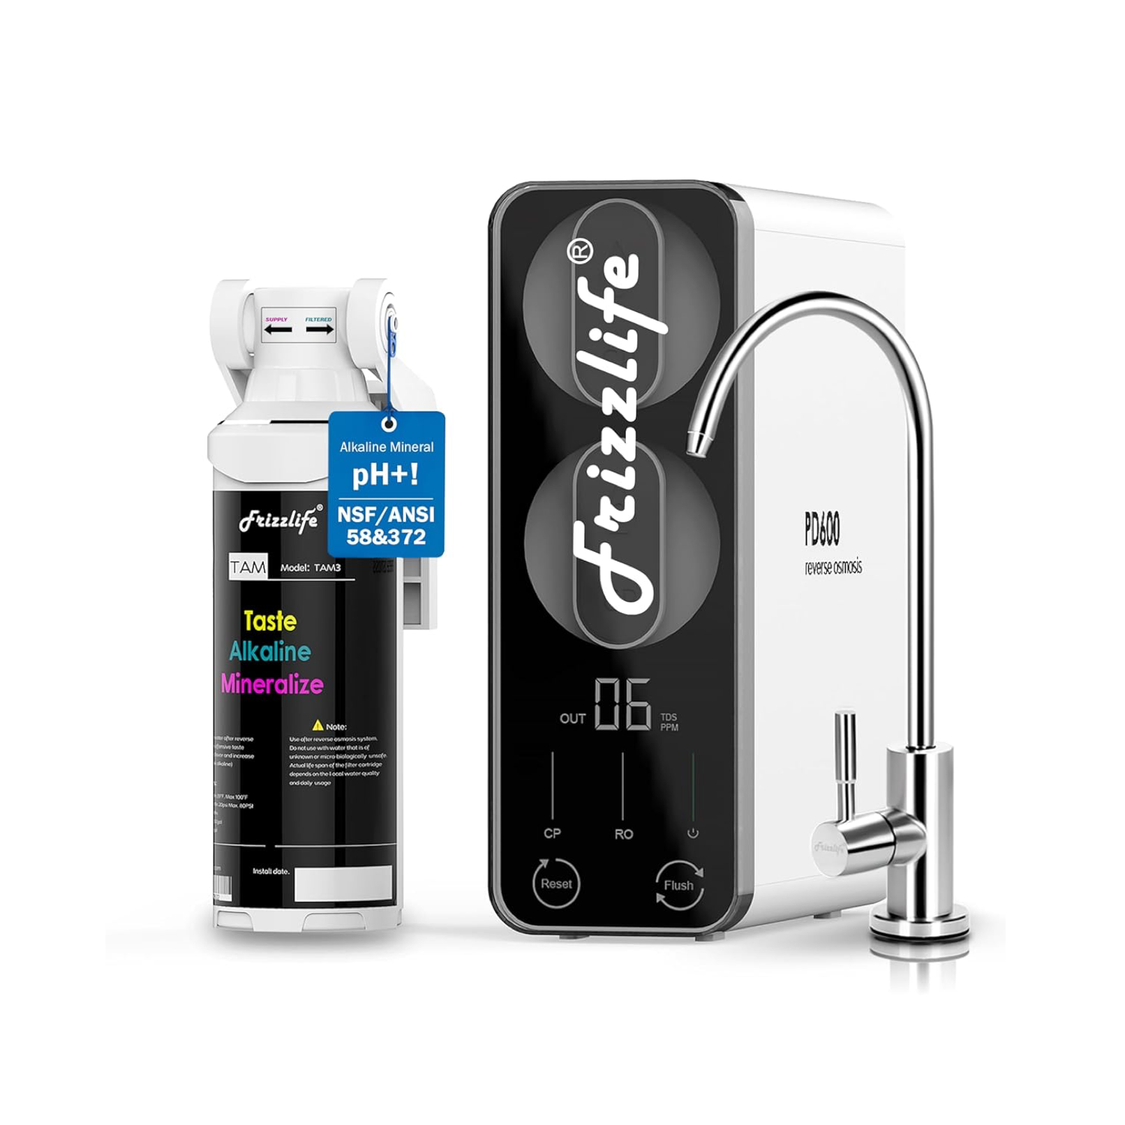
Under-Sink RO Option
Frizzlife PD600-TAM3
Review the PD600-TAM3 product details, installation requirements, connections, and available cabinet space to determine whether it matches your under-sink layout.
View PD600-TAM3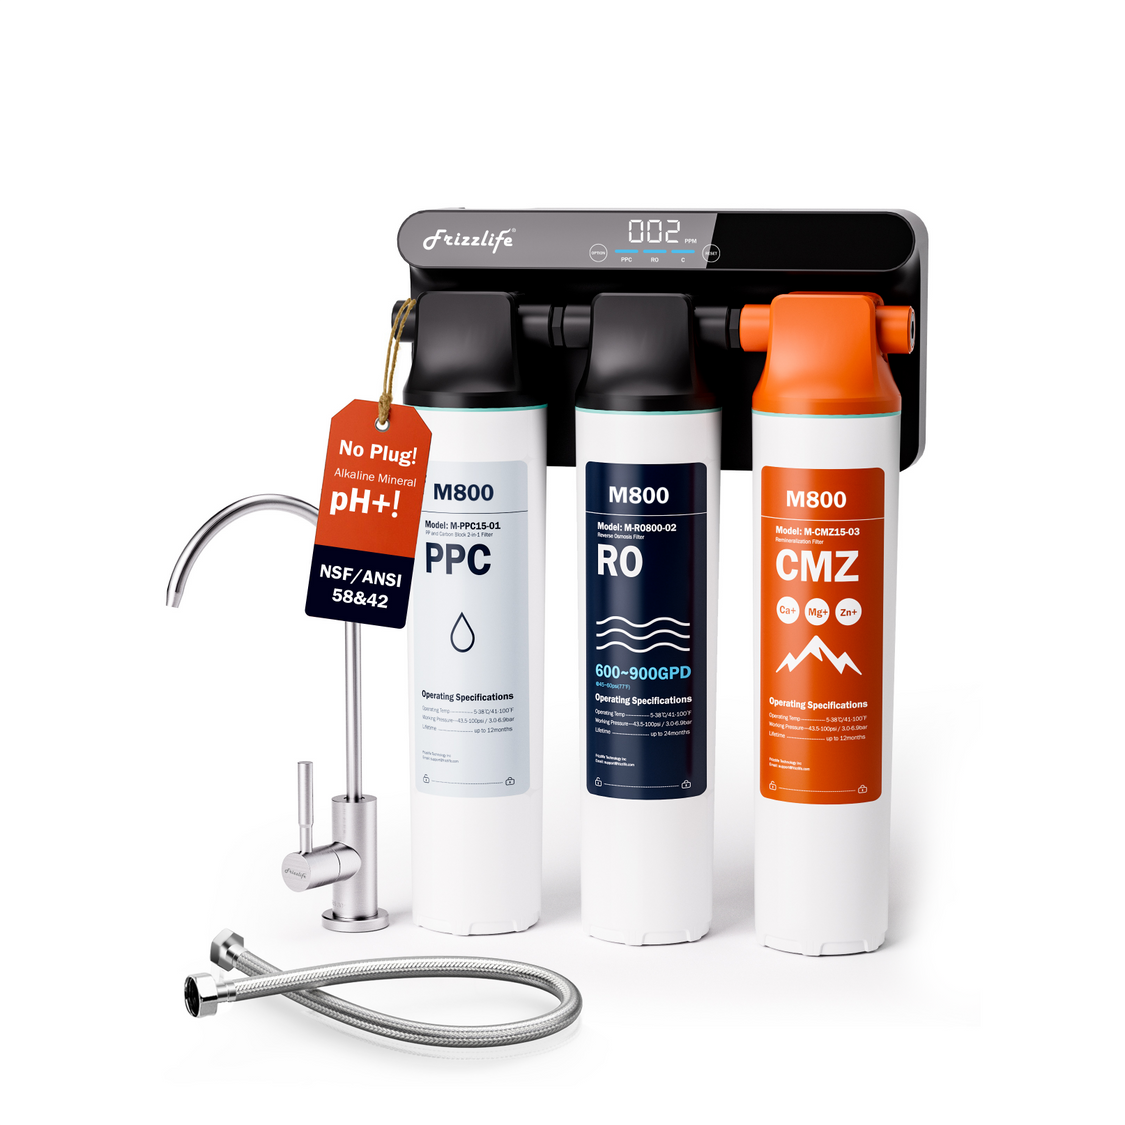
Under-Sink RO Option
Frizzlife M800
Compare the M800 product specifications and installation layout with your available plumbing, drain connection, power access, and service clearance.
View M800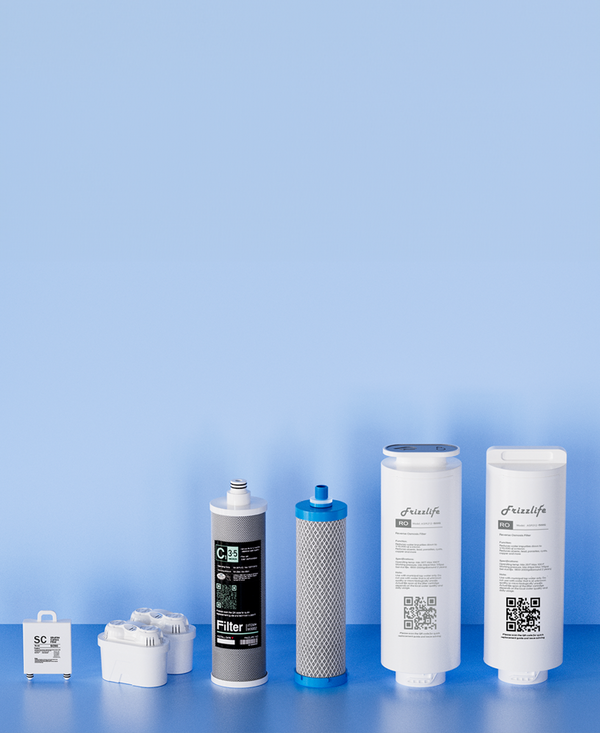
Maintenance & Filter Replacement
Frizzlife Replacement Filters
Already own a Frizzlife system? Find the appropriate replacement-filter options and check model compatibility before ordering.
Find Replacement FiltersThe key to installing an RO system with a garbage disposal or dishwasher is choosing the drain connection before choosing the mounting position. Keep the RO discharge above the P-trap, use separate and compatible connections, preserve required backflow protection, and avoid placing a saddle in the disposal’s most debris-heavy discharge area.