


A reverse osmosis system normally sends some water to the drain while it is producing purified water. However, a reverse osmosis drain running constantly—including overnight or several hours after the last water draw—usually means the system is not reaching its shutoff condition.
So, how long should reverse osmosis drain flow continue? After a small draw, the drain may run for only a few minutes. If a conventional storage tank has been heavily depleted, refilling can take hours, and reject water may continue flowing during that production period. The important point is not one universal time limit: drainage should stop after water production ends and the storage tank is full.
If your RO system keeps draining after several hours without any water use, begin with the checks below before replacing valves or other parts.
How Long Should a Reverse Osmosis System Drain After Use?
Key Takeaway: Normal Drain Time Depends on Whether the System Is Still Producing Water
A brief drain cycle after filling one glass can be normal. Many conventional tank-based systems resume production to replace the water removed from the storage tank, sending reject water to the drain during that process. A small draw may result in only a short cycle, although the exact duration varies by system.
If you empty much of the tank, the refill cycle can last several hours. Production time depends on tank capacity, membrane capacity, feed-water pressure, water temperature, filter condition, and water quality. Therefore, a fixed rule such as “every RO system must stop after five minutes” is not reliable.
Use these two principles instead:
-
Drain flow during active water production is normal.
-
Drain flow should stop once production ends and the tank-based system reaches its normal shutoff pressure.
For a practical test, avoid using RO water for several hours. Also prevent demand from any connected refrigerator or ice maker, if your system manual allows you to isolate those lines. If water is still steadily flowing to the drain after that quiet period, the system likely needs troubleshooting.
How Long Should an RO System Drain? Decision Table
|
Observed drain pattern |
Likely status |
What to check next
|
|---|---|---|
|
Drain runs briefly after filling a glass, then stops |
Usually normal refill behavior |
No action unless the cycle becomes much longer or more frequent |
|
Drain runs while a partly depleted tank refills, then stops |
Usually normal production |
Confirm the tank eventually fills and faucet flow returns to normal |
|
Drain runs for several hours after heavy use but eventually stops |
May be normal, especially with low pressure, cold feed water, or a large draw |
Monitor refill performance and check filters if production seems unusually slow |
|
Drain continues after several hours with no RO water use |
Usually abnormal |
Check for hidden demand, leaks, low feed pressure, installation errors, and valve problems |
|
Drain stops when the storage-tank valve is closed |
The shutdown system may be responding, but tank pressure, hidden demand, or valve behavior needs closer testing |
Follow the model-approved tank-valve test |
|
Drain continues when the tank valve is closed |
Possible ASO, check-valve, restrictor, or installation problem |
Consult the system diagram before isolating components |
|
Tankless unit drains continuously with no purified-water demand |
Usually abnormal unless the manual identifies a scheduled flush cycle |
Check indicators or error codes and contact manufacturer support |
This table is a diagnostic guide, not a replacement for your model’s operating instructions. Pumped, tankless, and electronically controlled systems can behave differently from conventional mechanical systems.
What Usually Does Not Require Attention When the Reverse Osmosis Is “Running”
Not every running-water sound indicates a malfunction. Drain flow is usually normal while the membrane is actively producing purified water, during a short refill after faucet use, or while a heavily depleted storage tank refills. A newly installed filter or membrane may also require a model-specific startup flush, and some tankless systems perform brief programmed flush cycles.
Investigate the system when the drain remains steady after several hours with no RO water use, continues overnight, or keeps flowing after a tank-based system appears full. Other warning signs include weak faucet output, constant drainage that began immediately after installation or maintenance, or tankless drain flow with no dispensing or documented flush cycle.
The practical distinction is whether the cycle ends: normal reject-water flow stops when production or the approved flushing sequence is complete. Persistent drainage wastes water and can keep filters, the membrane, valves, or pumps operating unnecessarily.
Why Does an RO System Keep Sending Water to the Drain?
How Reject Water, Tank Refilling, and Automatic Shutoff Work Together
A conventional tank-based RO system uses feed-water pressure to push water through the membrane. Purified water moves toward the storage tank, while reject water passes through a flow restrictor and enters the drain.
As the tank fills, pressure on the purified-water side rises. A mechanical automatic shutoff valve, commonly called an ASO valve, responds to that pressure and closes the feed-water path. Once feed water stops entering the membrane, reject water should stop flowing to the drain.
A check valve helps prevent pressurized tank water from moving backward through the membrane. If the ASO valve cannot close, the check valve leaks backward, or the system never builds sufficient pressure, the drain may continue running.
This is why a constantly draining system is not always a “drain problem.” The drain flow may be the visible symptom of a pressure, demand, membrane, tank, or valve issue elsewhere in the system.
Factors That Change How Long an RO System Drains
Several operating conditions can make an otherwise functional system run longer:
-
Water usage: The more purified water removed, the longer the system must produce replacement water.
-
Tank depletion: Refilling a nearly empty storage tank takes longer than replacing one glass.
-
Feed-water pressure: Low pressure can reduce membrane production and delay the pressure increase needed for shutdown. Use the minimum pressure requirement in your model manual rather than assuming one threshold applies to every RO system.
-
Water temperature: RO membranes commonly produce water more slowly when the feed water is cold.
-
Prefilter condition: Restricted sediment or carbon filters can reduce the pressure available at the membrane.
-
Membrane condition: Fouling or scaling can slow purified-water production and extend drain cycles.
-
Feed-water quality: Water conditions can affect membrane production and reject flow.
-
System design: Tank size, membrane capacity, pumps, sensors, and programmed flushing all influence runtime.
A longer cycle is not necessarily a failed cycle. The deciding question is whether the system eventually reaches its normal shutoff condition.
Tank-Based and Tankless RO Systems Do Not Shut Off the Same Way
Conventional under-sink reverse osmosis systems may use a storage tank, mechanical ASO valve, check valve, and flow restrictor. Pressure changes control when production starts and stops.
A tankless reverse osmosis system may instead use an internal pump, electronic sensors, a control board, solenoid valves, and programmed membrane-flushing cycles. Some models may briefly drain before or after dispensing as part of their normal sequence.
Because the controls differ, do not apply a mechanical ASO test to a tankless unit unless its manual specifically permits it. Continuous wastewater flow with no purified-water demand—or drain flow combined with an error indicator or no product-water output—usually requires model-specific support.
Explore RO System and Filter Options
If troubleshooting shows that your current setup needs maintenance—or you are considering a different RO configuration—compare these Frizzlife options for system upgrades and replacement filters.
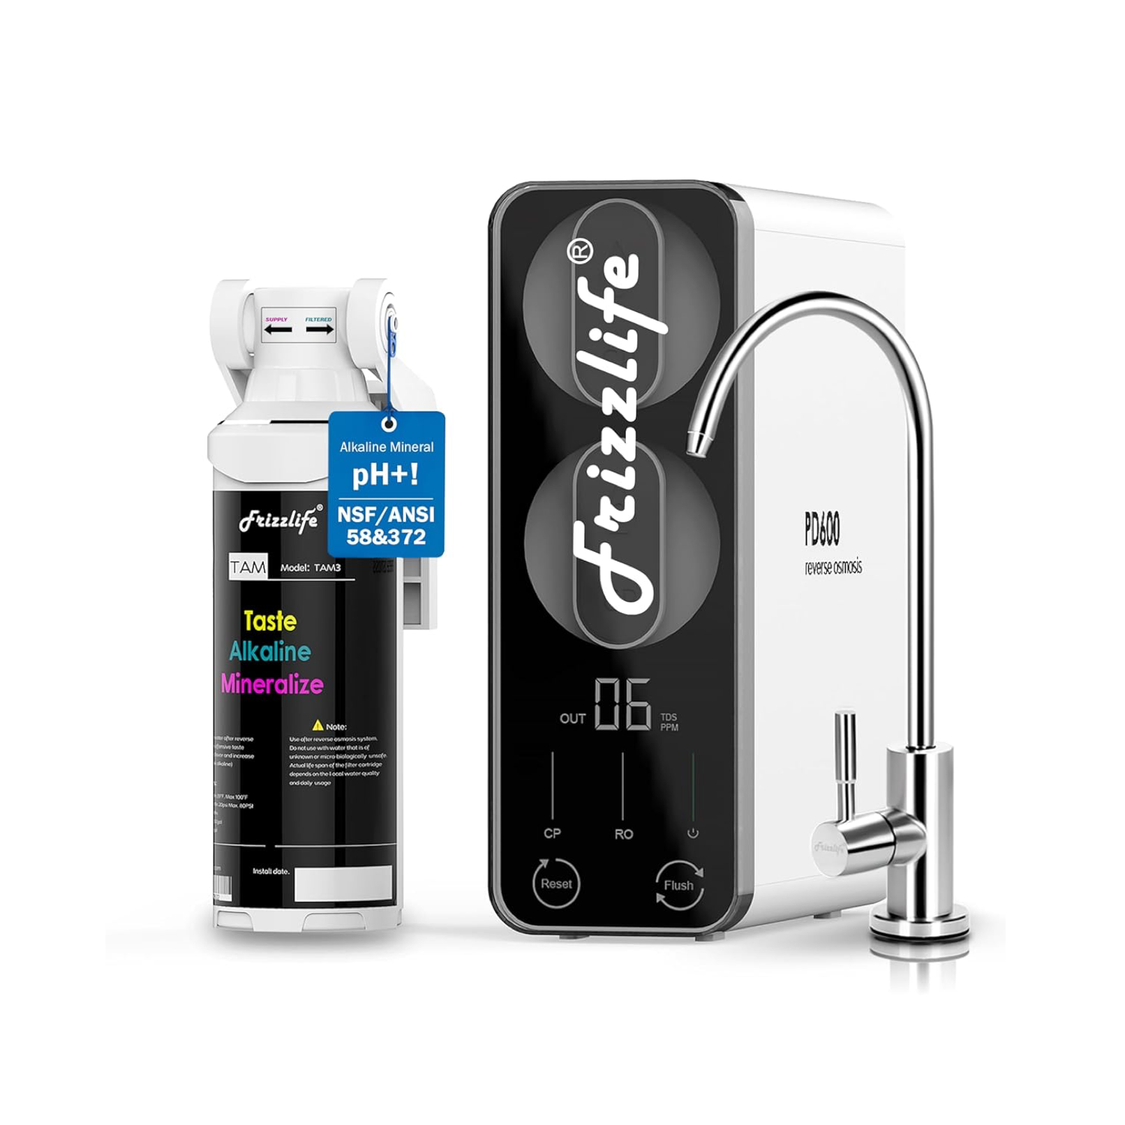
Tankless RO System
PD600-TAM3
A 600 GPD tankless reverse osmosis system with alkaline remineralization and a 2:1 pure-to-drain ratio for a compact under-sink setup.
View PD600-TAM3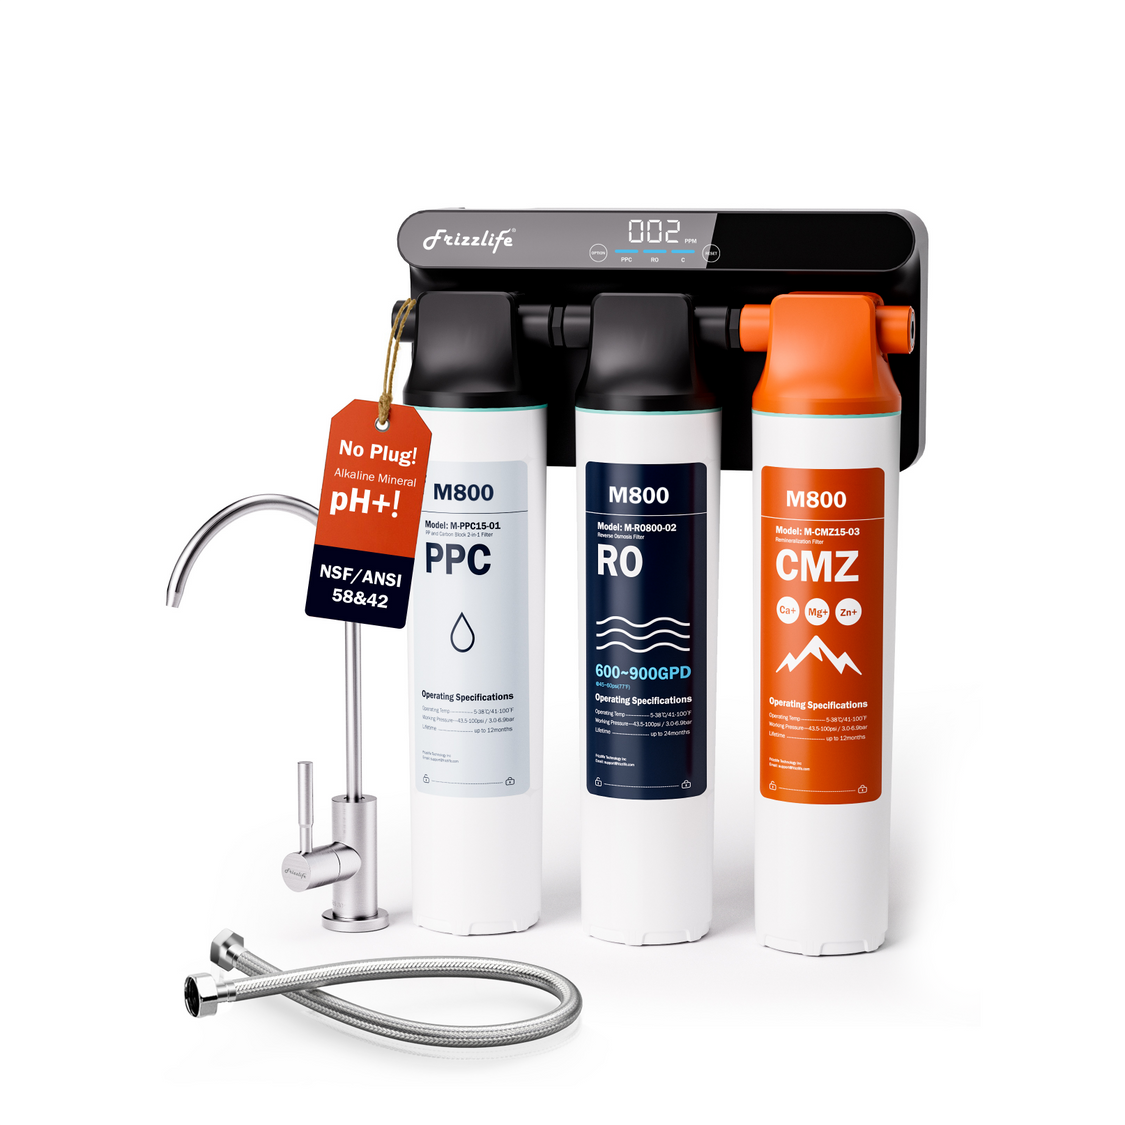
Non-Electric Tankless RO
M800
A 900 GPD tankless RO system that operates without a conventional electric pump and features a 4:1 pure-to-drain ratio.
View M800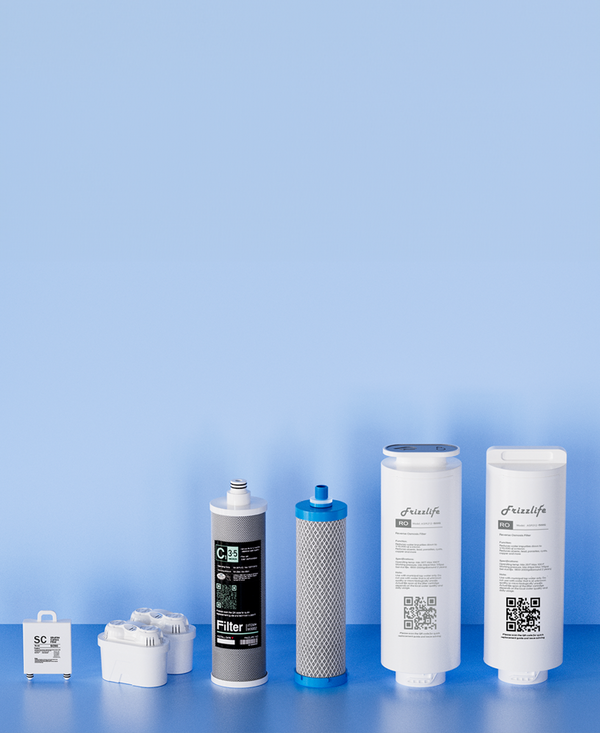
System Maintenance
Replacement Filters
If slow production or longer drain cycles point to overdue filter maintenance, find replacement cartridges matched to your Frizzlife system.
Find Replacement FiltersWhat Should You Check First If the Reverse Osmosis Will Not Stop Draining?
Confirm That No Water Has Been Used for Several Hours
First, determine whether the system truly fails to stop or is completing a long refill.
-
Let the RO storage tank fill under normal conditions.
-
Avoid using the RO faucet for several hours.
-
Account for every connected outlet, including a refrigerator or ice maker.
-
Listen at the drain connection or observe the drain tube only if it can be done without disconnecting plumbing.
-
Note whether the drain flow stops completely, cycles intermittently, or remains steady.
This waiting period is a diagnostic observation, not a universal refill specification. A depleted tank, cold feed water, low pressure, or restricted filters can all make production slower.
Check the RO Faucet, Fittings, Refrigerator Line, and Ice Maker for Slow Demand or Leaks
A small leak can prevent the system from reaching stable full pressure. Inspect:
-
The RO faucet for a persistent drip
-
Push-fit tubing connections for moisture
-
The filter or membrane housings for seepage
-
The storage-tank valve and tubing
-
Refrigerator supply tubing
-
Ice-maker connections
-
Any branch line connected to the purified-water outlet
Dry each fitting and check again after several minutes. A paper towel placed beneath an accessible connection can make slow moisture easier to notice.
A refrigerator or ice maker can also create legitimate intermittent demand. If the sink faucet has not been used but the appliance continues drawing water, the RO may repeatedly restart. Isolate the appliance line only when the system instructions permit it.

Verify That the Feed-Water Valve Is Fully Open and Pressure Meets the Model’s Requirements
A partially closed feed valve can reduce pressure without stopping water entirely. The membrane may continue producing slowly, preventing the tank from reaching the pressure needed for shutdown.
Confirm that:
-
The cold-water supply is on.
-
The RO feed-water valve is fully open.
-
Feed tubing is not bent, flattened, or kinked.
-
Household pressure meets the requirement in the model manual.
-
A pump-equipped unit is powered and not displaying an error.
Do not use a generic pressure number as the specification for every system. Minimum and preferred operating pressures vary by model and configuration.
Review Recent Installation or Maintenance Work
If the RO system began draining constantly immediately after installation or a filter change, recheck the work before assuming a component failed.
Compare the installation to the model diagram and verify:
-
Tubing enters the correct feed, tank, faucet, and drain ports.
-
The ASO or check valve is oriented correctly, if externally accessible.
-
The drain tube is not kinked or pinched.
-
The flow-control insert or restrictor was not removed with old tubing.
-
Filters and the membrane are fully seated.
-
Protective caps or shipping plugs were removed where instructed.
-
The drain saddle is aligned with the drain opening.
-
The drain connection is placed where the manual and local plumbing requirements allow.
-
The required startup-flush sequence has been completed.
Do not drill, enlarge, or relocate a drain connection while troubleshooting unless you understand the plumbing layout and applicable requirements. An incorrect drain connection can create leaks, drainage problems, or an unsafe plumbing arrangement.
Use the Tank-Valve Test to Narrow Down the Problem
This test applies primarily to conventional tank-based systems with a mechanical shutoff arrangement. Follow your manual first.
A common observation test is:
-
Begin with a full or substantially filled storage tank.
-
Draw two or three glasses of water so the RO begins refilling.
-
Close the storage-tank ball valve.
-
Stop demand from a refrigerator line if the manual allows it.
-
Wait approximately three to five minutes.
-
Check whether reject-water flow stops.
Closing the tank valve creates a no-flow condition on the purified-water side. If the drain stops after a short delay, the shutdown components may be responding, and the issue could involve tank pressure, an ongoing water demand, or a storage-tank problem.
If drainage continues, possible causes include an ASO valve that is not closing, a leaking check valve, an incorrect flow restrictor, or misrouted tubing. The result narrows the diagnosis but does not always identify one failed part by itself.
Return the valve to its normal operating position after the test. Do not perform this procedure on a tankless or electronically controlled system unless the manufacturer’s instructions authorize it.
RO Drain Troubleshooting for the Flow Restrictor
The Overlooked Component: How a Faulty or Mismatched Flow Restrictor Keeps the Drain Line Running
The flow restrictor controls how quickly reject water leaves the membrane. That restriction helps maintain the pressure needed for reverse osmosis production.
If a restrictor is missing, broken, installed in the wrong direction, or mismatched to the membrane, too much water may escape through the drain. The system can struggle to build pressure and may run much longer than expected. This is a common reason an RO system keeps draining after tubing, a membrane, or drain-line components have been replaced.
The restrictor may be:
-
An insert inside the drain tube
-
A separate inline fitting
-
Built into an elbow or membrane connection
-
Integrated into a system manifold
Its location and flow specification are model-dependent. Do not assume an unmarked fitting is disposable tubing.

Distinguish a Clogged Restrictor From a Missing, Broken, or Oversized Restrictor
Different restrictor problems create different symptoms:
-
Missing, broken, or oversized restrictor: Drain flow may be excessive, membrane pressure may remain too low, and purified-water production may be poor.
-
Undersized or severely restricted component: Drain flow may be too low. That does not usually look like a high-volume constant drain, but it can interfere with proper membrane operation.
-
Partially clogged drain tube or restrictor: Flow may be weak, irregular, or noisy. Backpressure at the drain connection may further confuse the symptom.
-
Incorrectly installed restrictor: Drain behavior may change immediately after maintenance.
This distinction matters because “flow restrictor failure” does not always mean too much drain water. A clogged restrictor and a missing restrictor can cause opposite flow symptoms.
Compare Measured Drain Flow With the Manufacturer’s Specification
If the drain line is accessible and the system instructions permit testing, a one-minute collection test can help quantify the problem.
-
Turn off the feed water before disconnecting any tubing.
-
Identify the reject-water line from the system diagram.
-
Route the line securely into a measured container.
-
Restore feed water only for the timed test.
-
Collect reject water for one minute.
-
Turn the feed water off again before reconnecting the line.
-
Compare the collected volume with the manufacturer’s specification for that model and membrane.
There is no universal acceptable one-minute drain volume. The correct flow depends on membrane capacity, feed pressure, temperature, water conditions, and restrictor design.
Skip this test if the tubing is inaccessible, if you cannot positively identify the drain line, or if disconnecting it could release water into the cabinet. Contact Frizzlife support or a plumber instead.
Do Not Modify or Replace a Restrictor Without Confirming Model Compatibility
A restrictor must match the system and membrane. Drilling it out, trimming capillary tubing, removing an insert, or installing a generic replacement may alter membrane pressure and reject flow.
Before replacing the part, confirm:
-
The exact system model
-
Membrane type or capacity
-
Restrictor location and orientation
-
Required replacement part
-
Model-specific drain-flow specification
Replacing the restrictor based only on visible drain volume can create a second problem without correcting the original one.
When the Tank Is Full but Water Is Still Running to the Drain
“Tank Is Full” but Water Is Still Running to Drain: What That Usually Points To
If a conventional storage tank is genuinely full but drain water continues, the most likely areas to investigate are:
-
Automatic shutoff valve operation
-
Check-valve sealing
-
Storage-tank air pressure or bladder condition
-
A hidden leak or downstream water demand
-
Incorrect tubing or valve orientation
A tank that feels heavy is not always operating correctly. It can contain water while still having an incorrect air charge, limited usable volume, or insufficient pressure to create the expected shutoff response.
How a Failed Automatic Shutoff Valve Prevents the Drain From Stopping
The ASO valve uses pressure from the purified-water side to shut off incoming feed water. When it sticks, leaks internally, is connected incorrectly, or no longer responds to pressure, feed water continues crossing the membrane. Reject water then continues to the drain even though the tank does not need more water.
Common clues include:
-
Drain flow continues after the tank-valve observation test.
-
The tank fills, but the system never becomes quiet.
-
Closing and reopening the tank valve changes the behavior only temporarily.
-
Feed-water flow continues despite no known purified-water demand.
These symptoms suggest the ASO circuit, but they do not prove the ASO alone is defective. A check-valve leak can prevent the same pressure signal from remaining stable.
How a Faulty Check Valve Allows Tank Water to Flow Back Toward the Drain
The check valve is intended to keep stored purified water from moving backward toward the membrane. If it does not seal, pressurized tank water can bleed back.
That pressure loss may cause two related problems:
-
The ASO valve does not remain closed.
-
Water repeatedly or continuously moves toward the membrane and drain.
The system may appear to fill normally, then restart without anyone using water. Faucet output may also decline because stored water is being lost backward rather than remaining available at the faucet.
How to Differentiate an ASO Failure From a Check-Valve Failure
Some conventional systems allow a further isolation test using the feed-water and tank valves. The basic diagnostic principle is:
-
If feed water is shut off but the open storage tank still sends water toward the drain, backward flow may indicate a check valve that is not sealing.
-
If no backward drain flow occurs, but the system fails to shut down when feed water is restored and the purified-water side is pressurized, the ASO valve becomes a stronger suspect.
Only perform this test if the manual clearly identifies the valves and permits the procedure. Integrated manifolds may not provide safe access to individual components, and different systems route water differently. Never blow through installed tubing or disassemble a pressurized valve assembly unless the manufacturer specifically instructs you to do so.
Check Storage-Tank Air Pressure Only With the Tank Fully Drained
Incorrect tank air pressure can reduce usable capacity, weaken faucet flow, and interfere with normal pressure behavior. However, tank pressure must be measured under the correct conditions.
For an approved pressure check:
-
Shut off the feed water.
-
Open the RO faucet and drain all water from the storage tank.
-
Confirm that water has stopped flowing.
-
Measure air pressure at the tank’s air valve using a suitable low-pressure gauge.
-
Compare the reading with the specification for that exact tank and system.
Do not apply one universal PSI value. Published recommendations vary by tank and manufacturer, and a pressure reading taken while the tank still contains water will not represent the empty-tank pre-charge.
If water comes out of the air valve, the internal bladder may have failed. Stop adjusting the tank and contact support for replacement guidance.
Common Causes: Filters, Membrane Condition, and Feed-Water Pressure
Common Causes: Why Clogged Filters Lead to RO Drain Issues
Clogged sediment or carbon prefilters usually do not create a direct high-volume drain leak. Instead, they restrict feed flow and reduce the pressure available at the RO membrane. Purified-water production then slows, the storage tank takes longer to refill, and reject water continues flowing throughout that extended production cycle.
Related signs include slower faucet flow, longer tank recovery, a tank that rarely seems full, or drain cycles that have gradually become longer. Household pressure measured before the RO system may still appear adequate because a partially closed feed valve, kinked tube, restricted prefilter, or obstructed fitting can cause pressure loss inside the unit.
Replace filters according to the instructions and service conditions for the specific model. If production remains slow after the prefilters are replaced and supply pressure is adequate, continue with the membrane, tank, restrictor, and shutoff checks below.
How Membrane Fouling Can Extend Production and Drain Cycles
A fouled or scaled membrane may produce purified water more slowly. Because the storage tank takes longer to build pressure, reject-water flow can continue longer as well.
Possible signs include:
-
Production remains slow after prefilters are replaced.
-
Tank refill takes much longer than it previously did under similar conditions.
-
Faucet output is limited even though tank pressure has been checked correctly.
-
Drain flow appears normal in volume but continues for an unusually long period.
Membrane condition should be evaluated using the model’s troubleshooting process. Slow production can also result from cold water, low feed pressure, tank problems, or an incorrect restrictor, so runtime alone does not confirm membrane failure.
Is Continuous Draining Normal After Installing New RO Filters?
Temporary drainage can be normal after installing filters or a membrane if the model requires startup flushing. During flushing, water may be intentionally routed to the drain, and a tank-based system may need time to refill.
Continuous draining is not normal simply because the filters are new. Investigate if the flow continues beyond the model’s stated flushing procedure or after the tank should have reached shutoff.
After maintenance, check:
-
Filter and membrane seating
-
Protective packaging or caps
-
Tubing connections
-
Valve positions
-
Flow-restrictor placement
-
Required tank filling and draining steps
-
Leaks around newly opened housings or fittings
Follow the exact flushing instructions for the installed components. Do not substitute a generic flush time for the manual.
Why Replacing Valves Before Checking Filters and Pressure Can Miss the Root Cause
ASO and check valves are frequently blamed when a reverse osmosis system will not stop draining. Yet a new valve will not fix low feed pressure, a hidden refrigerator leak, a fouled membrane, incorrect tank pressure, or a missing restrictor.
Use this order before replacing parts:
-
Confirm the drain behavior is truly continuous.
-
Eliminate faucet, fitting, and appliance demand.
-
Check feed-valve position, tubing, and available pressure.
-
Review recent installation or filter work.
-
Evaluate prefilters and membrane performance.
-
Perform model-approved tank and shutoff tests.
-
Replace a component only after the evidence points to it.
This sequence reduces unnecessary part swapping and helps identify the condition preventing shutdown.
Safe Next Steps When the RO Drain Keeps Running
Troubleshooting Checklist: Observe, Isolate, Inspect, and Verify Before Replacing Parts
Use this condensed checklist for RO drain troubleshooting:
-
Observe: Does drainage stop after a normal refill, or continue after several hours with no use?
-
Identify: Is the system tank-based, tankless, pump-assisted, or electronically controlled?
-
Eliminate demand: Check the faucet, refrigerator, ice maker, fittings, and branch lines.
-
Verify supply: Confirm the feed valve is open and pressure meets the model requirement.
-
Inspect maintenance work: Recheck tubing routes, filter seating, valves, and flushing steps.
-
Assess filters: Look for gradual production loss or overdue model-specific maintenance.
-
Check the restrictor: Confirm it is present, correctly installed, and compatible.
-
Test shutdown: Use the tank-valve test only on compatible conventional systems.
-
Check tank pressure correctly: Fully drain the tank before measuring its air charge.
-
Escalate: Contact support if the system uses integrated or electronic controls, or if the cause remains unclear.
When to Shut Off the Feed Water Temporarily
Turn off the RO feed-water supply if:
-
Water is leaking into the cabinet.
-
A tube or fitting has separated.
-
Drain flow is uncontrolled and cannot be corrected promptly.
-
Plumbing must remain unattended while the system is malfunctioning.
-
You cannot reconnect a line securely after testing.
-
The drain connection appears loose, damaged, or incorrectly installed.
After closing the feed valve, open the RO faucet briefly to relieve pressure if the model instructions allow it. Do not continue operating a leaking system simply to preserve tank availability.
When Tankless or Electronically Controlled Systems Need Manufacturer Support
Tankless units can use pumps, sensors, solenoid valves, and electronic control logic instead of a conventional mechanical ASO arrangement. Their drain cycles may include programmed flushing, but the expected sequence is model-specific.
Contact Frizzlife support if a tankless or electronically controlled unit:
-
Drains when no purified water is being dispensed
-
Runs continuously without producing purified water
-
Displays an error or warning
-
Repeatedly starts and stops without demand
-
Continues draining after the recommended reset procedure
-
Has an internal leak or inaccessible tubing connection
Avoid opening electronic housings or replacing control components without authorized instructions.
When to Stop DIY Troubleshooting and Contact a Plumber or Frizzlife Support
Professional or manufacturer assistance is appropriate when:
-
Drainage continues after basic pressure, demand, filter, and tank checks.
-
The system uses an integrated manifold with no accessible ASO or check valve.
-
You cannot identify the correct tubing or shutoff valves.
-
The drain saddle is misaligned, leaking, or attached to a questionable location.
-
Cabinet water or repeated fitting leaks are present.
-
Plumbing must be cut, drilled, or rerouted.
-
Tank pressure cannot be checked safely.
-
Replacement-part compatibility is uncertain.
-
Continuous drainage returns after a temporary fix.
Drain-side plumbing deserves particular care. Improvised connections can leak or create an improper connection to the household waste system.
Repair the Current Unit or Consider a Different RO Configuration?
Most constant-drain problems can be traced to a specific operating condition or component, such as low pressure, a leak, restricted filters, incorrect tank pressure, a flow restrictor, an ASO valve, or a check valve. Diagnosis should come before replacement.
If the current unit has repeated failures, incompatible plumbing requirements, an inaccessible installation, or a configuration that no longer fits household demand, it may be reasonable to compare other reverse osmosis system configurations.
The central answer remains simple: an RO drain can run for a few minutes after a small draw or for hours while refilling a depleted tank, but it should not continue indefinitely after production ends. If your reverse osmosis won’t stop draining, first rule out ongoing demand, low pressure, installation errors, and restricted filters. Then use model-approved tests to evaluate the flow restrictor, tank, ASO valve, and check valve.