


Changing an under-sink water filter is usually manageable at home, but the correct procedure depends on the system design. A quick-change cartridge, a traditional filter housing, a multi-stage under-sink filter, and a tankless reverse osmosis system do not use the same removal method.
Before starting, identify the exact system model and replacement cartridge. Check the product label, current filter, manual, or model number inside the sink cabinet. Do not order a replacement only because it looks similar to the old cartridge.
Already know your Frizzlife system model? Confirm compatibility before ordering a replacement cartridge.
When Should You Change an Under-Sink Water Filter?
This guide focuses on the replacement procedure rather than the full water-filter lifespan question.
Replace the cartridge when it reaches the gallon capacity or maximum service interval listed for the exact model. Replacement may be needed earlier when filtered-water flow drops, taste or odor returns, the system indicator activates, or incoming water conditions change.
For a complete explanation of replacement timing, read How Long Do Water Filters Last? 2026 Guide to Water Filter Lifespan.
Do not remove a cartridge merely to inspect whether it looks used. Carbon, ultrafiltration, reverse osmosis, and other filtration media can reach capacity without an obvious visual change.
Identify Your Under-Sink Filter Type First
Before gathering tools, determine how the cartridge is attached and whether the system uses one filter or several stages.
| Under-sink filter design | How replacement usually works | What to check first |
|---|---|---|
| Quick-change cartridge | The cartridge twists, pulls out, or releases from a locking head | Model number, locking direction, shutoff design, and flushing instructions |
| Housing-style cartridge | A reusable canister opens with a housing wrench | Cartridge size, O-ring condition, housing orientation, and approved cleaning method |
| Multi-stage under-sink system | Two or more cartridges may use different replacement methods | Stage order, individual cartridge numbers, and whether all stages are due |
| Tankless RO system | Model-specific cartridges release from the system body | Filter-stage label, electronic reset procedure, and required flushing volume |
| Traditional tank RO system | May use housings, inline filters, and a separate membrane housing | Tank valve position, stage order, membrane instructions, and sanitizing procedure |
Tools and Supplies You May Need
The required tools depend on the filter design. For most replacements, prepare:
- The correct model-specific replacement cartridge
- Paper towels or an absorbent cloth
- A shallow tray or small container
- A flashlight
- The system manual or replacement instructions
A housing-style system may also require:
- A filter housing wrench
- A compatible replacement O-ring if the current seal is damaged
- Food-grade silicone lubricant only when approved for the system
A quick-change filter may not require a housing wrench or separate O-ring. Do not force a quick-change cartridge with tools unless the manufacturer specifically instructs you to do so.
How to Change an Under-Sink Water Filter
Step 1: Confirm the Model and Cartridge
Read the model number from the filtration system and compare it with the replacement-filter compatibility information.
For a multi-stage system, record which cartridge belongs in each stage. Sediment, carbon, ultrafiltration, RO membrane, and post-filter stages may not use the same cartridge or replacement schedule.
Taking a photo before removing anything can help preserve the cartridge order, tubing position, valve position, and installation direction.
Step 2: Turn Off the Water Supply
Shut off the cold-water supply feeding the filtration system.
Some systems have a dedicated inlet valve. Others use the cold-water shutoff valve under the sink. A bypass valve is not present on every under-sink system and should not be assumed.
If the local shutoff valve is stuck, leaking, or heavily corroded, do not force it. Shut off the appropriate upstream water supply or contact a qualified plumber.
Step 3: Release Pressure
Open the filtered-water faucet and allow water to run until the flow stops or slows substantially.
Some housing-style systems include a pressure-release button. Many quick-change systems do not. Use a pressure-release control only when it is present and the product instructions tell you to use it.
Keep a towel and tray beneath the system because a small amount of water may remain inside the filter or tubing.
Step 4: Remove the Old Cartridge
For a Quick-Change Cartridge
Follow the direction markings on the cartridge or system head. Depending on the design, the cartridge may need to be twisted, unlocked, pulled downward, or released with a button.
Support the cartridge while removing it because it may contain water. Do not use a housing wrench on a quick-change cartridge unless the manual specifically requires one.
For a Housing-Style Cartridge
Place the housing wrench around the canister and turn it in the loosening direction shown in the manual.
Support the housing with your other hand as it opens. Avoid pulling against the tubing or mounting bracket.
If the housing is stuck, confirm that the water supply is off and pressure has been released. Do not strike the housing or use excessive leverage, which may damage the canister, cap, bracket, or plumbing connections.
Step 5: Remove and Dispose of the Old Filter
Remove the cartridge without touching the inside of the filter head or clean-water connections unnecessarily.
Allow the old filter to drain before disposal. Follow local waste rules or manufacturer recycling instructions where available.
Do not rinse and reuse a disposable cartridge unless the manufacturer specifically states that it is washable or regenerable.
Step 6: Inspect the Housing, Connections, and O-Ring
For a housing-style filter:
- Inspect the reusable canister for cracks, clouding, damaged threads, or mineral buildup.
- Remove the O-ring carefully and check it for flattening, cuts, stretching, or brittleness.
- Replace a damaged O-ring with the correct size.
- Apply only a light coating of approved food-grade silicone lubricant when the manual permits it.
- Do not use petroleum jelly or an unapproved lubricant on drinking-water-system seals.
For a quick-change cartridge, inspect the filter head and connection area for dirt, damaged locking tabs, or a displaced internal seal. Do not disassemble the filter head unless the manual provides a service procedure.
Step 7: Clean Reusable Parts Only as Directed
Reusable housings may be cleaned during cartridge replacement, but the approved method varies by system.
Use the cleaning method specified in the manual. Mild dish soap and clean water may be acceptable for some reusable housings, while other systems provide specific sanitizing instructions.
A sealed quick-change cartridge should not be opened or cleaned internally.
Step 8: Install the New Cartridge
Check the cartridge label and stage number one more time before installation.
Quick-Change System
Insert the cartridge into the correct filter head and rotate or lock it until it reaches the installed position shown in the instructions.
Do not stop halfway or force the cartridge beyond its locking point.
Housing-Style System
Place the new cartridge in the center of the housing and confirm that it seats correctly.
Reinstall the O-ring in its channel without twisting it. Thread the housing onto the cap by hand first.
Tighten it according to the manufacturer’s instructions. Overtightening can damage threads, distort the O-ring, and make the next replacement difficult.
Step 9: Restore the Water Supply Slowly
Make sure the filtered-water faucet is open unless the manual states otherwise.
Slowly open the inlet valve. A gradual refill allows trapped air to escape and gives you time to detect a leak before full pressure reaches the system.
Check:
- The cartridge connection
- Housing threads
- O-ring area
- Tubing fittings
- Shutoff valves
- The cabinet floor beneath the system
If water appears, shut off the supply immediately and release pressure before adjusting any part.
Step 10: Flush the New Filter
Flush the cartridge for the time or water volume specified by the manufacturer.
Do not assume that every under-sink filter needs exactly five minutes of flushing. Carbon cartridges, ultrafiltration filters, RO membranes, post-filters, and multi-stage systems may have different startup procedures.
Temporary cloudiness, air bubbles, or small amounts of carbon fines may appear during initial flushing. Continue only according to the product instructions.
Do not drink the filtered water until the required flushing procedure has been completed.
Step 11: Reset the Filter Indicator
Some systems include an electronic filter-life indicator, faucet display, app, or control panel.
Reset the correct filter stage only after the new cartridge has been installed. Consult the manual because reset procedures vary by system.
Write down the installation date or save it in your phone even when the system has an electronic reminder.
Step 12: Check Again for Leaks
Inspect the system immediately after installation, again after several minutes, and once more later the same day.
A slow leak may not appear during the first few seconds. Dry the housing and connections with a paper towel so new moisture is easy to detect.
Stop using the system and shut off its water supply if:
- A housing is cracked
- A cartridge will not lock
- An O-ring repeatedly moves out of position
- A fitting continues dripping
- Tubing is damaged
- The shutoff valve does not operate correctly
Need the correct cartridge before starting?
Explore Systems and Replacement Options
Review complete reverse osmosis systems or use the model-based replacement page to identify compatible cartridges for an existing Frizzlife system.
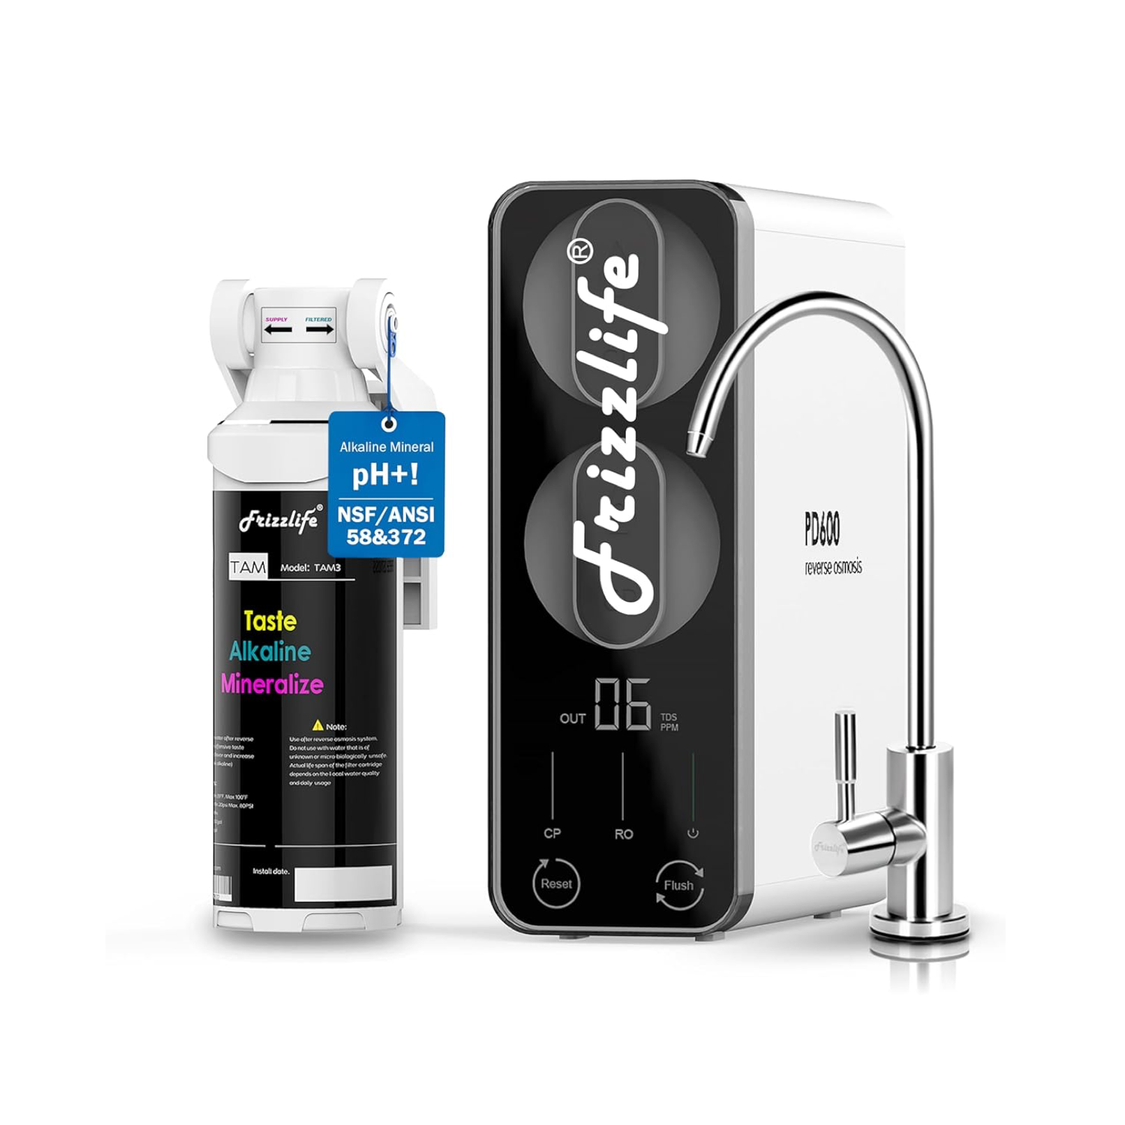
PD600-TAM3 Reverse Osmosis System
Review the PD600-TAM3 system, including its configuration, installation information, maintenance guidance, and compatible replacement-filter options.
View PD600-TAM3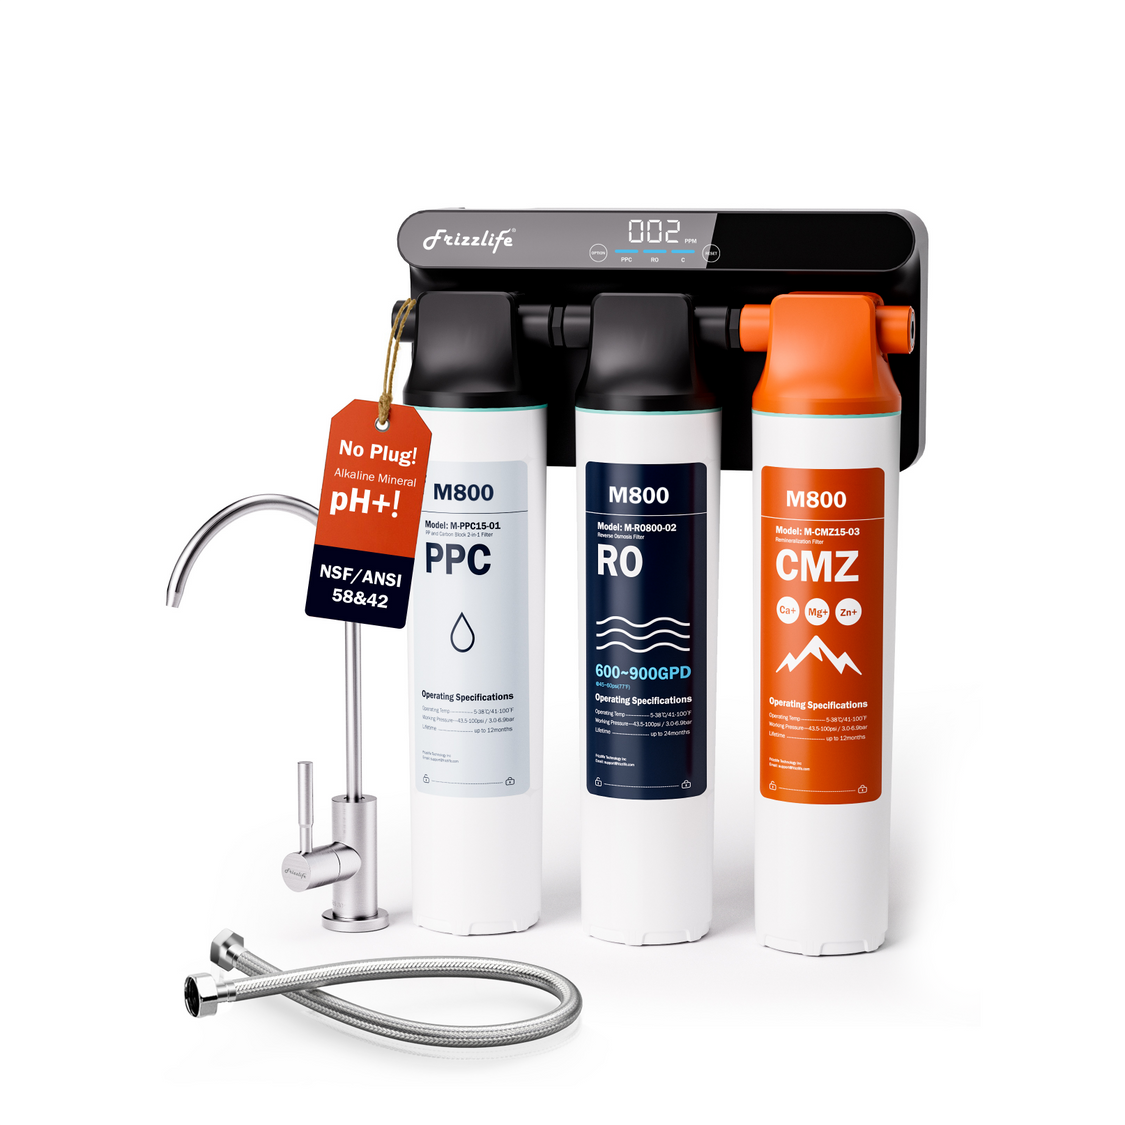
M800 Reverse Osmosis System
Explore the M800 system and review its installation, maintenance, and replacement-filter information before deciding whether to service or upgrade an existing setup.
View M800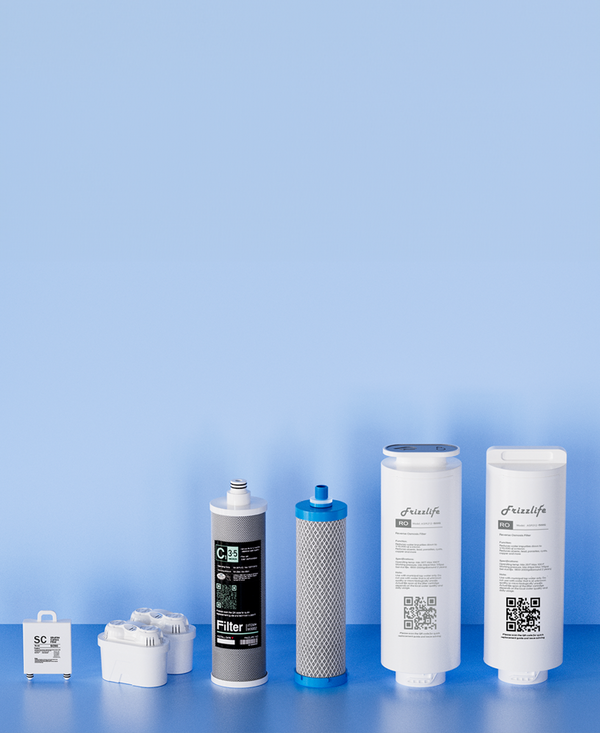
Find the Correct Replacement Filter
Select your Frizzlife system model to find compatible prefilters, carbon filters, RO membranes, and post-filters before ordering.
Find Replacement FiltersCommon Under-Sink Filter Replacement Mistakes
Assuming Every System Uses a Housing Wrench
Quick-change cartridges and housing-style filters use different removal methods. Applying a wrench to the wrong design can damage the cartridge or filter head.
Buying a Filter Based on Appearance
Similar-looking cartridges may have different dimensions, locking connections, media, flow ratings, or compatible models. Always match the model number.
Replacing Every Stage at the Same Time
Multi-stage systems may have different replacement intervals for sediment, carbon, membrane, and post-filter stages. Replace each stage according to its own instructions.
Reusing a Damaged O-Ring
A flattened, cracked, stretched, or cut O-ring can cause leaks. Use the exact replacement seal specified for the housing.
Overtightening the Housing
Tighter is not always safer. Excess force can damage the housing, threads, bracket, or seal.
Opening the Water Valve Too Quickly
Restoring full pressure immediately can make leaks harder to control and may move a poorly seated seal.
Skipping the Flush
New filters may contain trapped air or loose manufacturing fines. Complete the model-specific flushing procedure before drinking the water.
Sanitizing Without Checking the Manual
Not every system requires the same sanitizer, concentration, contact time, or frequency. Improvised sanitizing can damage components or leave unwanted residue.
Frequently Asked Questions
How do I know which under-sink replacement filter to buy?
Find the model number on the system, current cartridge, manual, or product label. Match that number with the compatibility information on the replacement-filter page. Do not rely only on the cartridge’s shape or color.
How often should an under-sink water filter be changed?
Follow the rated gallon capacity and maximum service interval for the exact cartridge, whichever comes first. Water quality and household usage may require earlier replacement. See the main water-filter lifespan guide for a complete explanation.
Can I change an under-sink water filter myself?
Many cartridge replacements are designed for homeowners, but the procedure depends on the system. Stop and contact a professional when valves are damaged, the system cannot be isolated, tubing is cracked, a housing is stuck or damaged, or leaks continue after reassembly.
Do all under-sink filters need a housing wrench?
No. A housing wrench is used with certain reusable canisters. Quick-change cartridges usually use a twist, pull, or locking mechanism instead.
Should I replace the O-ring every time?
Not automatically. Inspect it during each housing-style filter change and replace it when it is cracked, flattened, stretched, hardened, or otherwise damaged. Use the correct size for the housing.
Should I sanitize the system every time I change the filter?
Only when the product manual recommends or permits it. Sanitizing requirements vary by system design and should not be treated as universal.
How long should I flush a new under-sink filter?
Follow the exact cartridge instructions. Different carbon filters, RO systems, ultrafiltration filters, and multi-stage systems require different flushing times or water volumes.
Why is my under-sink filter leaking after replacement?
Common causes include a misaligned O-ring, an incompletely locked cartridge, damaged threads, trapped debris on a sealing surface, an incorrect cartridge, overtightening, or a loose tubing fitting. Shut off the water and release pressure before inspecting the connection.
Why is the water cloudy after changing the filter?
Trapped air can make freshly filtered water appear cloudy and usually clears after the system is flushed. Carbon fines may also appear from some new cartridges. Follow the flushing instructions and investigate further if particles or cloudiness continue.